
Mastering Image Optimization in Ultrasound: Brightness, Contrast & Lighting Explained
Clear, high-quality ultrasound images don’t just happen by chance—they’re the result of skill, precision, and the right adjustments. Whether you’re performing a keepsake baby ultrasound or creating stunning 3D/4D HD images, understanding how to optimize brightness, contrast, and lighting is what separates a good scan from a breathtaking one.
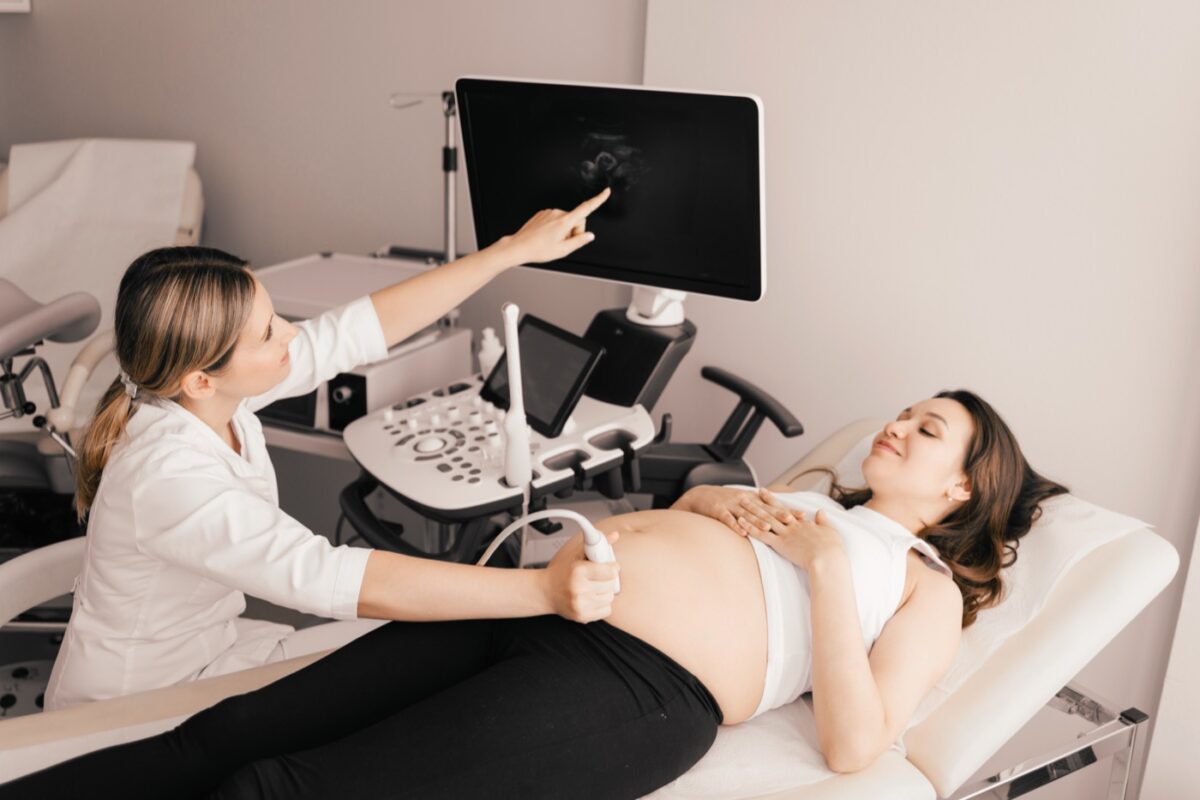
In the elective ultrasound business, image optimization is both a technical art and a marketing tool. Every crisp, lifelike image becomes a shareable moment for families—and a visual showcase of your studio’s expertise. Let’s explore how proper training in these techniques can elevate your scans and strengthen your business.
Why Image Optimization Matters in Elective Ultrasound
Parents don’t just want to “see” their baby—they want to feel connected. When the lighting is perfect, the contours are soft, and the features are clear, that emotional connection becomes real. That’s why top studios invest in ultrasound business training programs that teach the fine details of image optimization.
Optimized imaging enhances more than aesthetics—it improves diagnostic confidence, client experience, and even your reputation. A well-tuned machine in trained hands can make a dramatic difference, turning ordinary scans into treasured keepsakes that drive referrals and repeat visits.
“The beauty of a 3D or 4D ultrasound isn’t just in the technology—it’s in how well you master the light, contrast, and tone of each image.”
The Foundations of Ultrasound Image Optimization
Ultrasound imaging depends on sound waves and reflections—but the final image is shaped by how those reflections are processed and displayed. Modern systems allow detailed control over brightness (gain), contrast, and lighting effects to create depth, clarity, and realism.
Professional elective ultrasound training programs—like those provided by Ultrasound Trainers—teach sonographers how to fine-tune these settings for optimal results across various body types, fetal positions, and gestational ages.
1. Brightness (Gain)
Gain controls the overall brightness of the ultrasound image. Too little gain, and structures appear dark and indistinct; too much, and the image becomes “washed out.” The goal is balance—clear visualization without oversaturation.
Training includes understanding time-gain compensation (TGC), which adjusts brightness at specific depths. For example, deeper tissues often need more gain than superficial areas to appear evenly illuminated.
2. Contrast
Contrast defines the difference between light and dark regions in your image. High contrast can make edges sharp but may exaggerate noise; low contrast softens the image but can blur fine details. Training helps you find the sweet spot that highlights key structures—like facial features or tiny hands—without distortion.
In HD ultrasound mode, contrast adjustments can dramatically affect how skin textures appear. By combining contrast control with lighting direction, you can achieve the perfect blend of realism and warmth in your keepsake scans.
3. Lighting and Shading
Lighting adjustments simulate how light falls on the baby’s features, creating depth and emotion. In HD and 4D imaging, virtual light sources can be moved or angled to accentuate natural curves. This technique helps define the baby’s nose, lips, and cheeks in a visually appealing way.
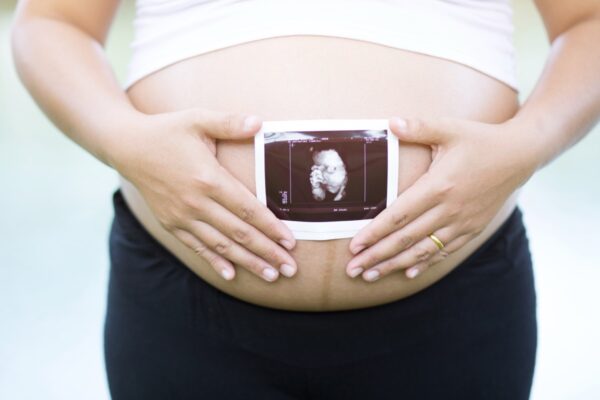
Proper lighting transforms a standard scan into a portrait-like image that evokes emotion. Clients often say, “It looks just like a photo!”—and that’s exactly what optimized lighting achieves.
Lighting in ultrasound is more than technical—it’s storytelling through shadows and highlights.
Training for Professional Image Optimization
In an elective ultrasound business, quality imaging depends as much on the technician’s training as on the machine itself. That’s why ultrasound business training programs devote significant time to hands-on instruction in image optimization.
1. Learning Your Machine
Each ultrasound machine—from GE Voluson to Samsung or Mindray systems—has unique rendering options and presets. Training teaches how to modify parameters like dynamic range, edge enhancement, and tissue harmonics to adapt to each session’s needs.
Knowing your system’s full capability ensures you don’t rely solely on factory presets but instead craft customized settings that enhance every image you capture.
2. Adjusting for Fetal Position
Even with perfect settings, image clarity depends on fetal position. Training covers techniques to encourage baby movement, such as gentle belly tapping or repositioning the client. Knowing when to switch from 3D to 4D or use specific rendering angles ensures you never miss that perfect shot.
3. Environmental Lighting and Screen Calibration
Room lighting can affect how you perceive image contrast and tone. Training teaches how to set ideal ambient lighting and calibrate monitors to display accurate color and brightness. What you see on-screen should match the final printed or digital output.
Common Image Optimization Mistakes (and How to Fix Them)
Even skilled sonographers occasionally struggle with suboptimal images. Knowing what causes these issues—and how to correct them—is a major part of professional training.
- Problem: Image too bright or “flat.”
Solution: Lower overall gain or reduce dynamic range; increase contrast slightly for definition. - Problem: Shadows obscuring features.
Solution: Adjust light source angle in HD mode; reposition the probe or client. - Problem: Image appears grainy.
Solution: Reduce gain incrementally; use spatial smoothing filters or lower frequency probes for deeper imaging. - Problem: Features appear blurred.
Solution: Ensure probe stability; check focus zone placement; optimize contrast for sharper edges.
How Image Optimization Impacts Business Success
Image quality isn’t just about technical pride—it directly impacts client satisfaction, referrals, and revenue. A beautifully lit, high-resolution ultrasound image evokes powerful emotion. That emotion turns into recommendations, glowing reviews, and viral social media shares.
1. Building Your Visual Reputation
In elective ultrasound, your gallery is your storefront. When potential clients browse your website or Instagram and see glowing, lifelike 3D/4D images, they associate your brand with quality and professionalism. Those images often lead to bookings before clients even call.
2. Repeat Business and Upgrades
Clients impressed by your image quality are more likely to return for additional sessions—such as HD imaging, milestone scans, or heartbeat keepsakes. Optimized images justify premium pricing and help expand your ultrasound franchise opportunities.
3. Marketing and Social Media Strategy
Every perfectly lit ultrasound image doubles as a marketing asset. Encourage clients to share their photos online with branded tags. This organic exposure is among the most effective ultrasound business marketing tips available—free, emotional, and authentic.
Advanced Optimization: Beyond the Basics
Once you’ve mastered brightness, contrast, and lighting, advanced training takes you deeper into post-processing and rendering refinement. This includes fine-tuning image filters, layering depth cues, and adjusting skin tone balance in HD mode for lifelike realism.
Elective ultrasound experts learn how to use advanced software tools included in modern ultrasound systems to polish final images without over-editing. The goal is always to preserve authenticity while enhancing natural beauty.
Post-Processing Workflow
- Review captured frames and select the clearest angles.
- Adjust brightness/contrast manually in post to refine details.
- Apply gentle smoothing to minimize grain while preserving texture.
- Preview final image on calibrated screens before printing or exporting.
Courses from Ultrasound Trainers teach how to integrate these steps into your workflow efficiently—ensuring consistency across every client session.
Frequently Asked Questions
What’s the difference between brightness and gain?
Brightness refers to the perceived lightness of the image, while gain is the setting that controls signal amplification, affecting overall image brightness and depth visibility.
Why do my 3D ultrasound images sometimes look grainy?
This often happens when gain is too high or probe contact isn’t optimal. Adjust gain, reposition slightly, and ensure sufficient gel coverage.
Can I fix poor lighting in post-processing?
Some adjustments can be made after capture, but the best results come from optimizing lighting during the scan using HD mode controls.
Does every ultrasound machine have the same lighting tools?
No. Each manufacturer uses different rendering technologies. That’s why professional training specific to your machine is essential for mastering lighting control.
Final Thoughts: Turning Pixels Into Emotion
Every elective ultrasound image tells a story—a moment in time where parents meet their baby’s face for the first time. By mastering image optimization—balancing brightness, contrast, and lighting—you bring that story to life with clarity, warmth, and heart.
Whether you’re just starting an ultrasound business or looking to refine your studio’s quality, investing in advanced elective ultrasound training from Ultrasound Trainers ensures that every image you capture reflects your professionalism, skill, and passion for creating unforgettable experiences.
Are you ready to take your ultrasound image quality to the next level? Share your experiences and challenges in the comments below—and if this guide inspired you, share it with other ultrasound professionals aiming for picture-perfect results!

How Much Should You Spend on an Elective Ultrasound Machine?
Wondering how much to spend on an elective ultrasound machine? Use this guide to match[...]

Elective Ultrasound Training in the United Kingdom That Builds Confidence
A detailed guide to elective ultrasound training in the United Kingdom, covering competency, safety, policies,[...]

Buy an Elective Ultrasound Machine in the United Kingdom
A detailed guide to buying an elective ultrasound machine in the United Kingdom, covering new[...]

How to Open an Elective Ultrasound Business: Checklist and Timeline
Planning how to open an elective ultrasound business? Use this startup checklist and timeline to[...]

Questions to Ask Before You Enroll in Elective Ultrasound Training
Before you enroll in elective ultrasound training, ask these questions about hands-on time, support, equipment,[...]
How Long Does It Take to Learn 4D Ultrasound for Keepsake Studios
Get a realistic timeline for 4D ultrasound training with skill milestones, practice hours, and a[...]

How to Open a 3D Ultrasound Studio in Australia
Step by step guide to opening a 3D ultrasound studio in Australia, covering training, equipment,[...]

Ultrasound Machine Features That Matter Most for Keepsake Studios
Compare the ultrasound machine features that matter most for keepsake studios so you can buy[...]

Ultrasound Business Marketing Tips for UK Keepsake Baby Ultrasound Studios
Proven ultrasound business marketing tips for UK keepsake studios, including SEO, reviews, social proof, ads,[...]

Do You Need to Be a Sonographer to Offer Elective Ultrasound
Understand who can offer elective ultrasound, training paths, compliance basics, and safe studio practices for[...]

How to Start a 3D 4D Ultrasound Business in the United Kingdom
Step by step plan for starting a 3D 4D ultrasound business in the United Kingdom,[...]

Best Elective Ultrasound Training Programs and What to Look For
Compare elective ultrasound training programs by hands on time, support, outcomes, and business guidance so[...]