

Setting up your elective ultrasound room is the decision that splits studios that get talked about from studios that get forgotten. Two studios can have identical machines and charge identical prices. The one with a thoughtfully designed room earns five-star reviews. The one that looks like a converted storage closet earns silence.
This guide covers how to set up an elective ultrasound room from the ground up. You will find specific guidance on equipment placement, lighting choices that affect both image quality and mood, furniture essentials, guest seating, and the small details that consistently separate high-performing studios from average ones.
The Core Principle
A well-set-up elective ultrasound room serves two masters simultaneously: it makes your job as the operator easier, and it makes your clients feel like they are somewhere special. Every layout decision and design choice should be evaluated against both criteria at once.
When we work with new studio owners on their room setup, the most common mistake we see is optimizing entirely for the operator. Everything is positioned for maximum scanning efficiency with almost no thought given to what the client and their guests see, hear, and feel from the moment they walk in. A scan that is technically perfect but takes place in an uncomfortable, poorly lit room will still generate mediocre reviews.
Room Size and Layout Minimums
You do not need a large room to create an excellent elective ultrasound experience. Most successful studios operate in dedicated rooms between 150 and 250 square feet. Smaller than that and the guest seating situation becomes awkward. Larger than that and the room can feel cold and clinical if not designed deliberately.
The essential layout elements are: a client table or reclined chair positioned so the screen is visible to guests without requiring anyone to crane their neck, a guest seating area along one wall that feels comfortable for two to four people, the ultrasound machine positioned on the operator side with cables routed cleanly out of foot traffic, and a display screen large enough that the entire group can watch the session together. The display screen placement matters more than most new owners realize. It should be at eye level for seated guests, not high on a wall like a waiting-room television.
| Element | Recommendation |
|---|---|
| Room Size | 150 to 250 sq ft ideal |
| Display Screen | 50 to 70 inches, at seated eye level |
| Guest Seating | 2 to 4 seats, clear sightline to screen |
| Client Table | Adjustable height, with stirrups optional |
| Cable Management | All cords routed and concealed from client view |
Lighting for Elective Ultrasound Rooms
Lighting is one of the biggest differentiators between rooms that feel like a spa experience and rooms that feel like a clinical exam. Overhead fluorescent lighting is the fastest way to destroy the atmosphere you are trying to create. Elective ultrasound studios should use warm, dimmable lighting that can shift to a softer setting during the scan itself.
A layered lighting approach works best. Start with ambient lighting at a moderate warm temperature, around 2700 to 3000 Kelvin, that fills the room without harsh glare. Add task lighting over the operator’s work area that can be managed independently from the main room lighting. During the scan, dimming the ambient lights slightly focuses attention on the screen and creates an intimate feel that clients consistently respond to positively.
Temperature and Sound
Ultrasound gel is cold. Clients notice this. A towel warmer loaded with small spa towels is a simple and inexpensive addition that clients remember and mention in reviews far more often than you would expect. Keep the room slightly warmer than a standard office environment, around 70 to 72 degrees Fahrenheit, since the client will be partially reclined and likely has a family member with them who generates additional warmth.
Sound is often overlooked entirely. Soft background music at very low volume creates a sense of occasion without distracting from the experience. Avoid playlists with lyrics during the scan itself because the audio from the heartbeat recording will compete. Instrumental or ambient music tracks work well. Some studios let the client choose from a few playlist options, which adds a personalization touch that costs nothing but creates a memorable detail.
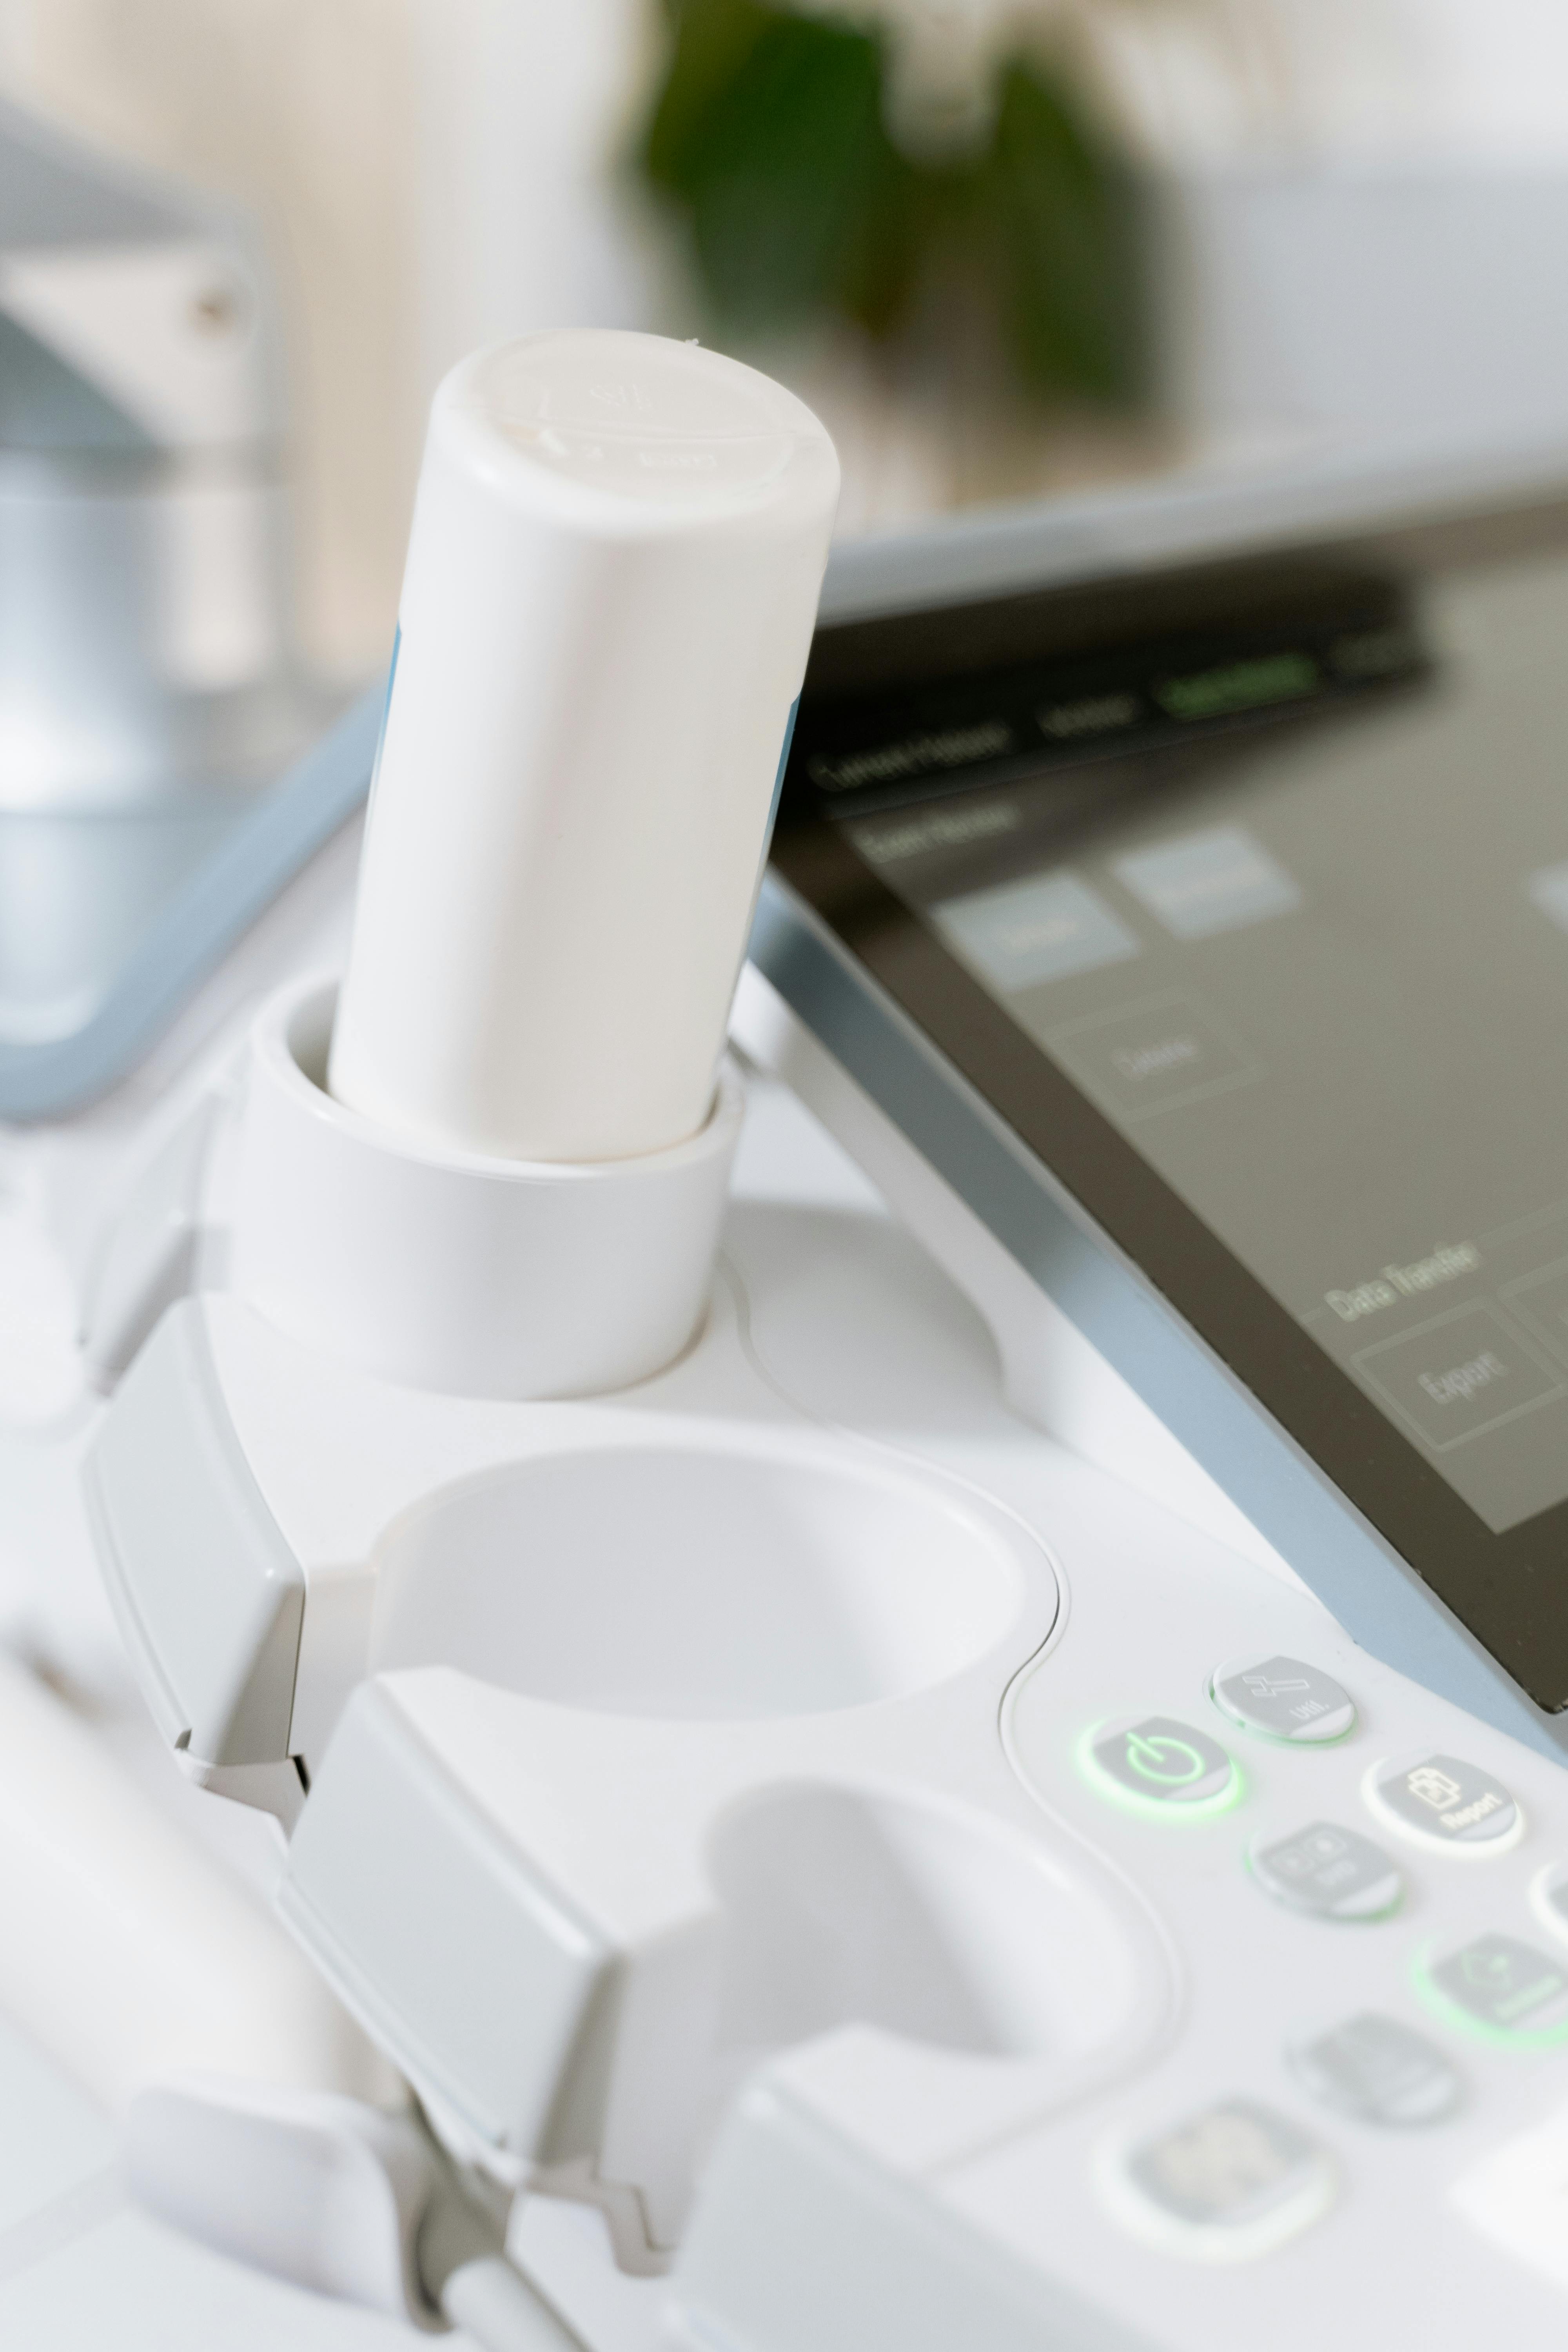
Elective Ultrasound Room Equipment Placement Details
Your ultrasound machine should be positioned on your dominant hand side with the display facing slightly toward the client and guests. Many operators make the mistake of placing the machine at a 90-degree angle that requires either turning their back on the client or straining awkwardly to reach the controls. The optimal position allows you to maintain eye contact with the client while operating the probe and adjusting settings without repositioning your body frequently.
The printer, if you use one for thermal prints during the session, should be within easy reach but not in the visual center of the room. It is a functional item, not a focal point. Same goes for the gel warmer, gloves, and any supplies. Keeping clinical supplies behind the client’s head rather than in their sightline maintains the ambiance you are working to create.
The best elective ultrasound rooms feel like they were designed for the client. The operator’s setup is invisible. Everything the client touches, sees, and hears was chosen intentionally.
Guest Experience Details That Drive Reviews
The details that generate five-star reviews are often the smallest ones. Comfortable seating for guests. A small side table for personal items. A tissue box within reach. A printed keepsake menu displayed tastefully in the room so guests naturally browse while they wait. The towel warmer already mentioned. A studio that smells pleasant, not sterile.
The Ultrasound Trainers turnkey studio program covers room setup alongside equipment selection, training, and marketing support so nothing falls through the cracks during the launch process. We have seen the difference between studios that invested thought in the room setup and studios that did not. It shows up in reviews and return visits.
Common Setup Mistakes to Avoid
| Mistake | Better Approach |
| Fluorescent overhead lighting | Warm dimmable LED fixtures at 2700K |
| Display screen mounted too high | Screen at seated eye level for guest viewing |
| Supplies on a visible cart in the room | Supplies stored out of client sightline |
| Cold gel applied without warming | Towel warmer and spa towels standard |
| Machine positioned awkward to client sightline | Operator can maintain eye contact while scanning |
| Cables running across the floor | All cables managed and concealed |
Frequently Asked Questions
How do I set up an elective ultrasound room in a small space?
A room as small as 150 square feet can work well if the layout is thoughtful. Prioritize the display screen placement and guest sightlines above everything else. Use wall-mounted shelving instead of floor carts to free up floor space. A compact two-seat bench or loveseat takes less floor space than individual chairs while still accommodating a partner and additional guest comfortably.
What size display screen works best for an elective ultrasound studio?
Most studios find that a 55 to 70 inch screen hits the sweet spot between visibility and room proportionality. Smaller than 50 inches and guests in the back of the room lose the detail that makes the experience memorable. Larger than 70 inches in a small room can feel overwhelming. The key is mounting height. Keep the screen at seated eye level, not high on the wall, so guests watch naturally without straining their neck.
Should the elective ultrasound room have a separate waiting area?
A small waiting area is helpful when appointment timing overlaps or when clients arrive early. It also prevents one group from rushing another group out of the scan room. If square footage is a constraint, even a small lobby seating area with two to three chairs and branded decor functions well. The main goal is ensuring the scan room itself is fully turned over and ready before the next client enters.
What furniture does an elective ultrasound room need?
The essentials are a client table or adjustable recline chair, two to four guest seats with a clear sightline to the display screen, a side table or counter for the operator’s supplies and equipment, and the machine cart or stand. Beyond that, decorative elements like wall art, soft lighting fixtures, and plants can elevate the feel significantly without major cost. Avoid hospital-style furniture. The experience should feel like a boutique, not an exam room.
How should I handle the ultrasound machine cables in my room setup?
Cable management is one of the fastest ways to make a room look either professional or messy. Use cable raceways mounted along the baseboard to route machine cables out of foot traffic. Secure the probe cord to the machine stand so it does not drape across the client table or floor. Any power strips should be tucked out of sight. This takes less than an hour to set up properly and makes a noticeable difference in how the room presents.
Does room design actually affect elective ultrasound reviews?
Consistently yes. Look at the language in five-star reviews for elective ultrasound studios and you will see words like “beautiful,” “comfortable,” “cozy,” “spa-like,” and “thoughtful” appearing alongside the scan quality comments. The experience is emotional. The environment shapes that emotion powerfully. A room that feels like it was designed for the client tells them they matter, which is exactly the feeling that drives reviews, referrals, and return visits.
How much does it cost to set up an elective ultrasound room?
Room setup costs vary significantly depending on whether you are starting from an empty commercial space or converting an existing room. A thoughtful basic setup including lighting upgrades, a client table, guest seating, display screen, cable management, and decorative elements can typically be accomplished in the $2,000 to $5,000 range beyond the cost of your ultrasound machine. Studios aiming for a more premium boutique feel invest more in custom finishes and upgraded furnishings. The return on that investment shows up in premium pricing power and stronger review volume.
Planning Your Studio Setup?
Ultrasound Trainers supports studio owners through every stage of the setup process, from room design guidance to equipment selection, training, and launch. If you are building your elective ultrasound studio and want to get the room right from day one, reach out to discuss what your specific space needs.
Get in TouchAbout the Author and Process: This content was developed by the Ultrasound Trainers team based on direct experience helping studio owners across the United States design, equip, and launch their elective ultrasound studios. Ultrasound Trainers provides training, equipment guidance, and comprehensive business startup support.
Last Updated: April 21, 2025
Get the Inside Track
Training tips, business advice, and exclusive deals delivered straight to your inbox.

How 3D/4D Ultrasound Technology Has Evolved: From VHS Tapes to HD Live and Beyond
Explore how 3D/4D ultrasound technology evolved from early static 3D volumes through real-time 4D, HD[...]

ARDMS, ARRT, and Non-Diagnostic Credentials: What Elective Ultrasound Studio Owners Actually Need
The ARDMS vs non-diagnostic credential elective ultrasound question confuses aspiring studio owners. This plain-language comparison[...]

Elective Ultrasound Training in France: Regulations, Market Opportunity, and Getting Started
Considering elective ultrasound training France? This guide covers the regulatory landscape, market opportunity in Paris[...]

Networking Strategies for Elective Ultrasound Studio Owners: Associations, Events, and Professional Communities
Networking as an elective ultrasound studio owner builds the peer relationships, referral channels, and operational[...]
How to Open a Keepsake Ultrasound Studio in Huntington, West Virginia
Planning to open a keepsake ultrasound studio in Huntington, West Virginia? This guide covers the[...]

Maternity Store and Baby Boutique Referral Partnerships for Elective Ultrasound Studios
A maternity store referral partnership ultrasound studio strategy connects you with local retailers sharing your[...]
Buying Ultrasound Equipment for a Maine Studio: What to Prioritize and What to Skip
Buying ultrasound equipment for a Maine studio? This guide covers service network gaps, new vs.[...]

How to Market a Keepsake Ultrasound Business in Maine: What Actually Moves the Needle
Marketing a keepsake ultrasound business in Maine requires local search, community referrals, and authentic Facebook[...]

Elective Ultrasound Training in Vermont: What Career Changers Should Understand Before Enrolling
Considering elective ultrasound training in Vermont? This Q&A guide covers what training includes, the online[...]

How to Open a 4D Ultrasound Studio in Casper, Wyoming
Planning to open a 4D ultrasound studio in Casper, Wyoming? This guide covers Casper's role[...]

Buying Elective Ultrasound Equipment for a Vermont Studio: Small State, Specific Considerations
Buying elective ultrasound equipment for a Vermont startup studio? This comparison guide covers Vermont service[...]

How to Market a Keepsake Ultrasound Business in Hawaii: What Works on the Islands
Marketing a keepsake ultrasound business in Hawaii requires a different playbook than mainland markets. This[...]