

Understanding how does 3d ultrasound work is not just trivia for studio operators. It is the foundation for setting realistic client expectations, troubleshooting scan quality when images come out grainy or unclear, and making confident decisions when vendors pitch you on different transducer or rendering package upgrades. Most operators who struggle with client satisfaction after opening do not have a technology problem. They have a knowledge gap that shows up when a client asks a perfectly reasonable question about why her baby looks fuzzy on screen.
This guide walks through the physics, the rendering process, the difference between 3D, 4D, and HD Live, and what every elective ultrasound studio operator needs to understand before the first client walks through the door.
3D ultrasound works by sweeping a standard ultrasound beam across a three-dimensional volume rather than a single flat plane. The machine captures thousands of data points from returning sound echoes, then surface-rendering software assembles those points into a volumetric image that shows contours, depth, and texture. The result is the realistic-looking still image most people associate with keepsake ultrasound. Last Updated: May 2025
The Baseline: What All Ultrasound Has in Common
Every type of ultrasound, from a hospital diagnostic scanner to the machine in your keepsake studio, operates on the same physical principle. The transducer emits high-frequency sound waves, typically in the range of 2 to 18 megahertz depending on application. Those waves travel through tissue, bounce off structures with different densities, and return as echoes. The transducer captures the returning echoes. The machine measures how long each echo took to return and how strong it was, then converts that data into brightness values on a display.
In a 2D scan, this process sweeps across one thin flat plane of tissue. The image you see is a cross-section, a slice through the body at a specific angle. Everything you see on a 2D screen is derived from a single flat sweep.
What 3D Adds: Volume Capture Instead of a Single Slice
The core difference in 3D ultrasound is that instead of capturing one plane, the transducer sweeps through a full volume of tissue. Depending on the machine and transducer design, this volume capture happens through mechanical movement of internal transducer elements, electronic beam steering across multiple angles, or a combination of both.
During a 3D acquisition, the machine collects thousands of 2D data slices at slightly different angles within a defined volume box. Each of those slices contains the same echo data described above. The system stores all of that volumetric data in a digital dataset. That dataset is not yet an image. It is raw volumetric information waiting to be processed.
The Rendering Step: Where the “Baby Face” Image Comes From
This is the step that most studio operators never hear explained, and it is the key to understanding why image quality varies so much between machines, probe types, and scan sessions.
Surface rendering software analyzes the volumetric dataset and attempts to identify the outermost surface of whatever is in the scan volume. The algorithm looks for the first structure it encounters as it traces rays from the front of the volume toward the back. When it finds a boundary, typically a transition from amniotic fluid to fetal tissue, it stops and assigns that point a color value based on depth and angle.
The result, after processing thousands of these ray traces across the entire volume, is the textured surface image that looks like a photograph. The face, the hands, the feet appear as a cohesive three-dimensional object because the software has mapped the surface boundaries of all those structures and displayed them with simulated depth shading.
This rendering step is computationally intensive, and it is exactly why image quality is heavily dependent on what is in the volume box. The algorithm needs a clean separation between fluid and fetal tissue. If there is not enough amniotic fluid in front of the face, the software cannot distinguish the surface boundary accurately. If placenta, cord, or a hand is positioned directly in front of the area of interest, the renderer locks onto that surface instead.
How 2D, 3D, 4D, and HD Live Actually Differ
Studio clients and even some vendors use these terms interchangeably, which creates confusion. Here is a clear breakdown of what each mode actually does.
| Mode | Data Captured | Output | Studio Use Case |
|---|---|---|---|
| 2D | Single flat plane | Black-and-white cross-section image | Heartbeat confirmation, basic anatomy orientation |
| 3D | Volume sweep (multiple planes) | Static surface-rendered image | Still keepsake photos, printed images |
| 4D | Continuous volume sweeps in real time | Live-motion surface-rendered video | Video recordings, live session viewing |
| HD Live | Volume sweep (same as 3D/4D) | Photorealistic rendering with simulated light source | Premium packages, differentiated marketing |
4D is not a fundamentally different technology from 3D. It is 3D volume capture repeated rapidly enough to display motion in near-real time, typically at frame rates between 4 and 20 frames per second depending on machine capability and volume depth. When clients say they want to see the baby moving, that is 4D.
HD Live, offered under slightly different brand names across manufacturers, uses a more sophisticated rendering algorithm that simulates an adjustable light source. The result has softer shadows, more natural skin tones, and greater depth perception than standard 3D rendering. It uses the same volumetric data. The difference is entirely in how the rendering software processes and displays that data.
Why Image Quality Varies: The Factors Studio Operators Can Control
One of the most common client complaints in keepsake ultrasound comes from sessions where the 3D images look blurry, grainy, or incomplete. The technology is rarely the cause. Most quality problems trace back to one or more of the following factors, all of which operators can address.
Amniotic Fluid Coverage
The rendering algorithm needs fluid in front of the fetal structure being imaged. When placenta, umbilical cord, or the uterine wall sits directly against the area of interest, the renderer cannot distinguish the surface boundary cleanly. Gestational age windows where fluid distribution is optimal for surface rendering typically fall between 26 and 32 weeks. Before 24 weeks, the fetus is small enough that image detail is limited. After 34 weeks, decreasing fluid and engaged positioning can obstruct the face and extremities.
Fetal Position
Fetal position at the time of the scan is a variable operators cannot control but must be prepared to work around. Repositioning techniques, including having the client walk, change positions, or return for a second session, are standard practice. We recommend building repositioning time into every session and explicitly educating clients about this during booking to prevent disappointment when position is not cooperative.
Coupling Gel and Probe Contact
Air gaps between the transducer and the skin surface create signal loss. Adequate gel coverage and consistent probe contact are fundamental. Operators sometimes underestimate gel quantity, particularly during repositioning, which directly degrades image clarity.
Machine Settings and Gain Adjustment
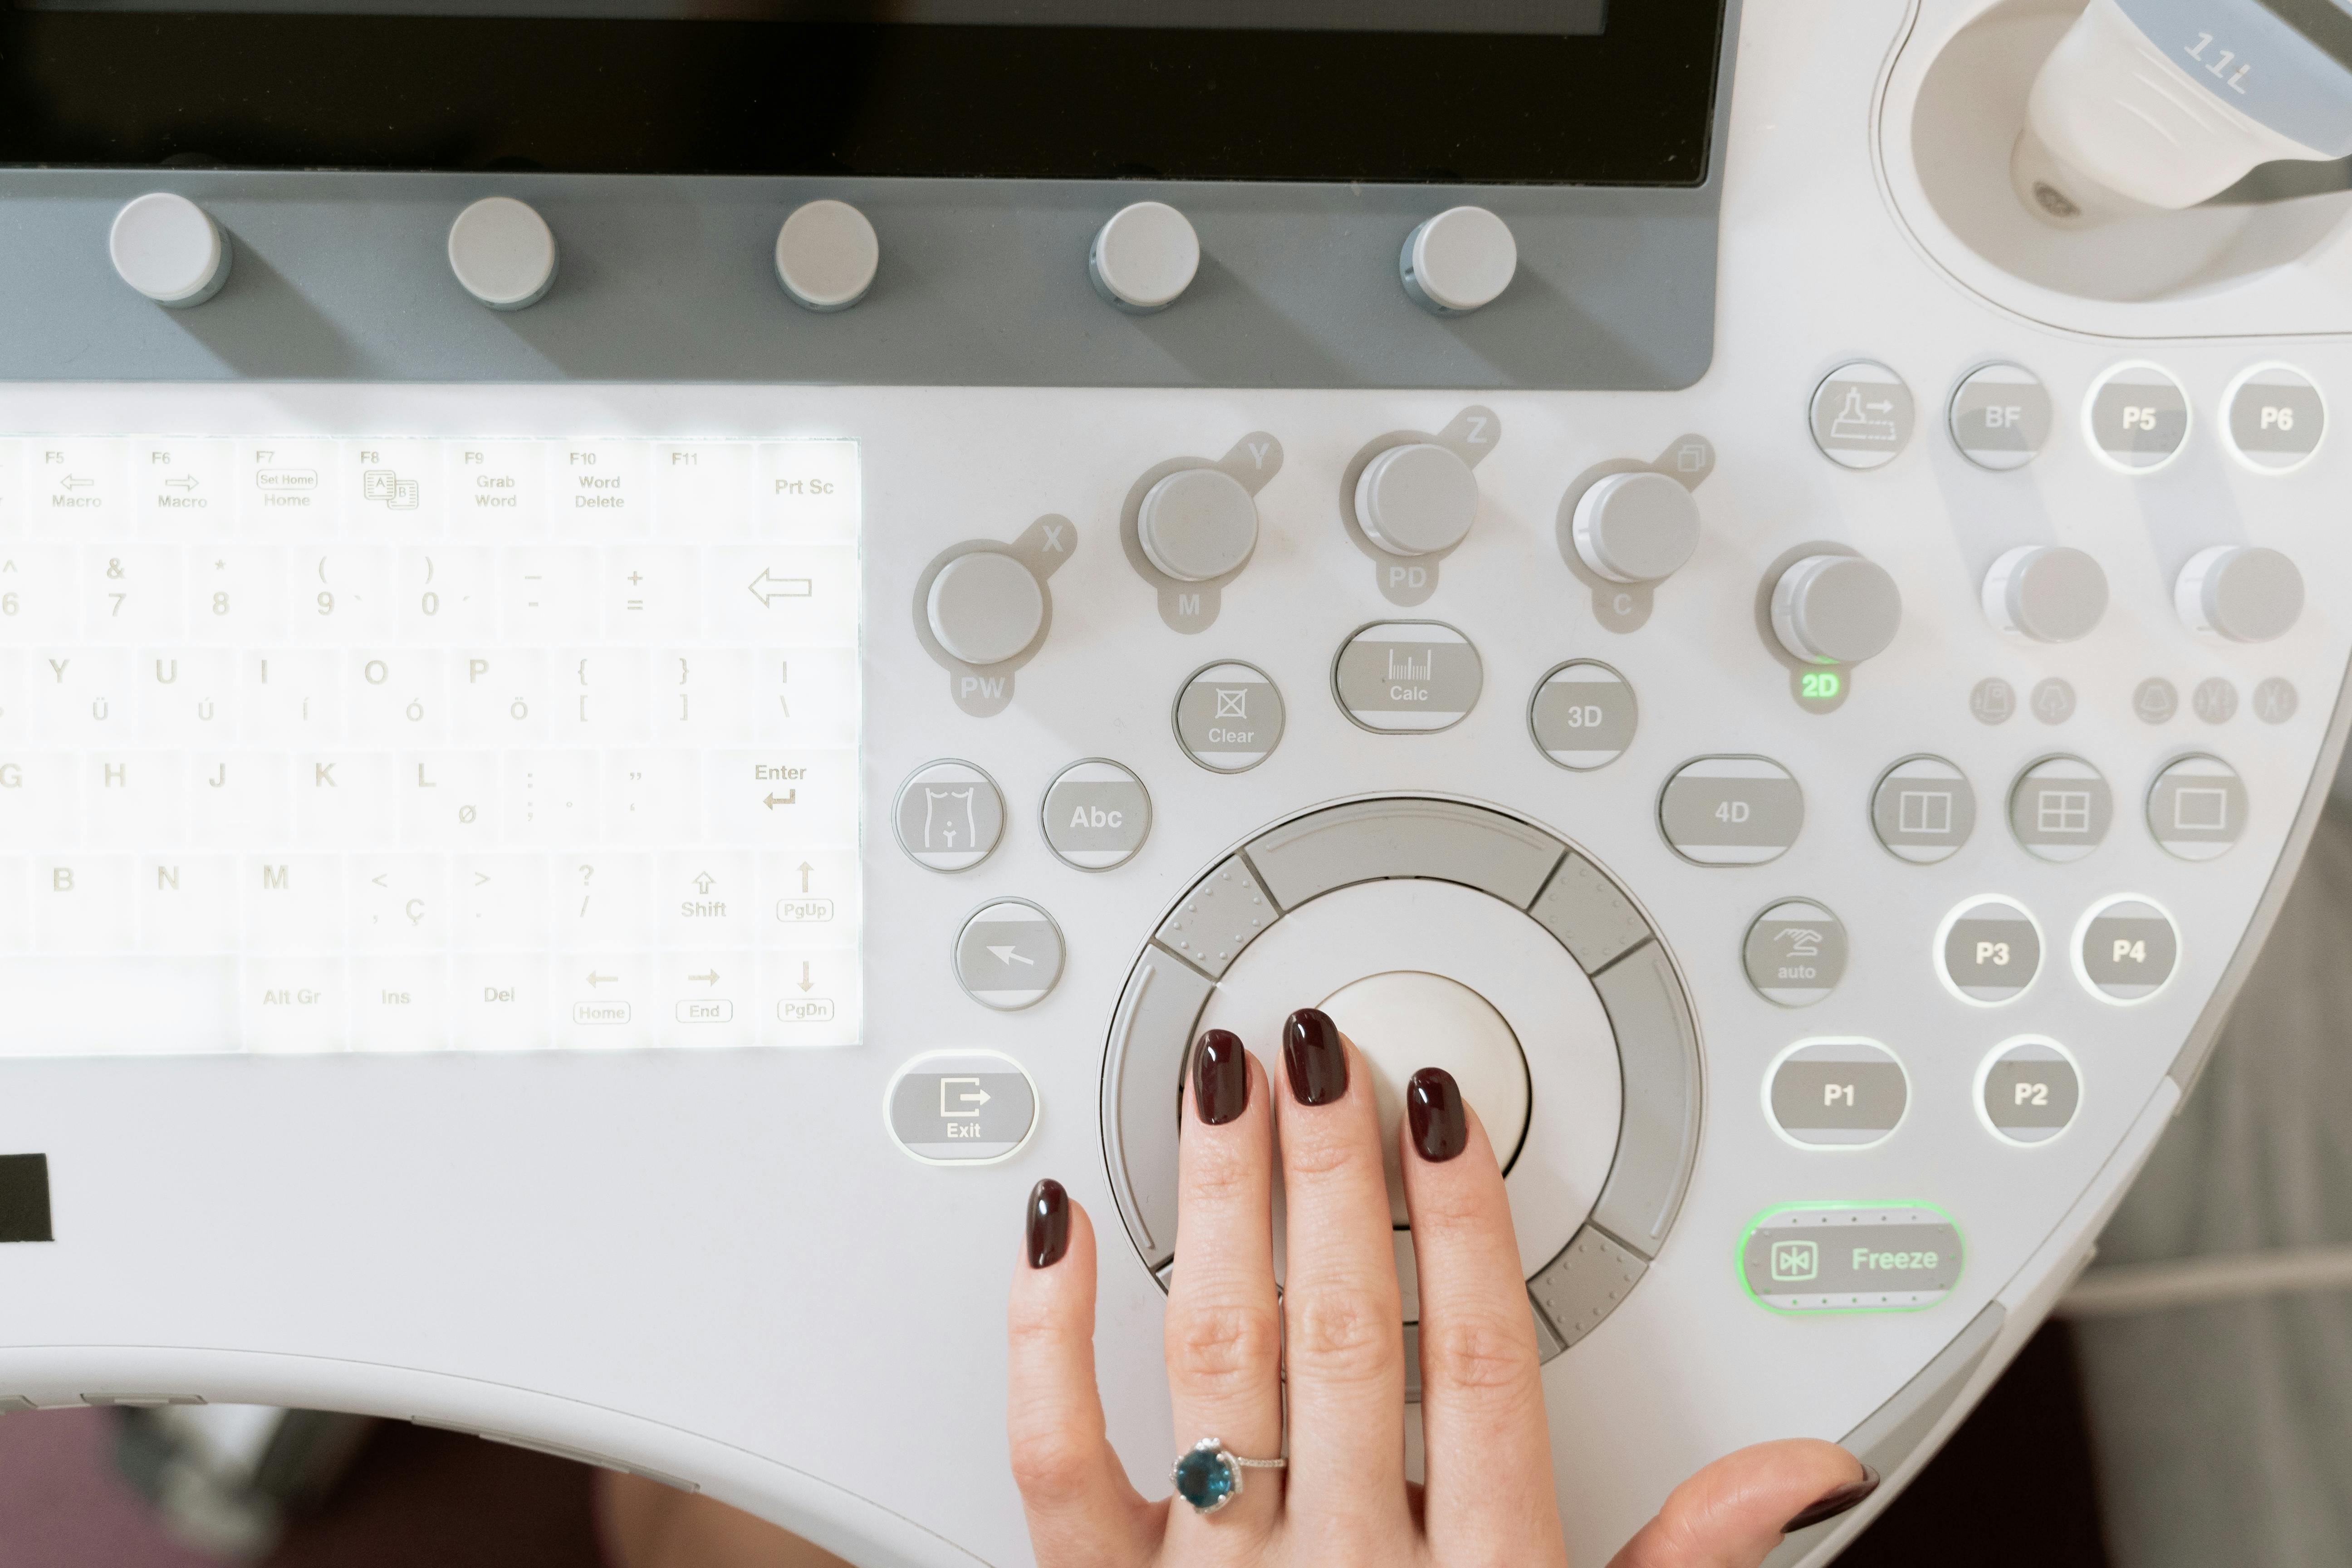
Every machine has adjustable gain, depth, and rendering sensitivity settings. Operators who understand the basics of how 3D ultrasound works are far better equipped to adjust these settings in real time based on what they observe on screen. Gain too high introduces noise. Depth set too deep requires more processing and can reduce frame rate in 4D mode. Learning to read the raw 2D image before switching to 3D rendering is a skill that separates technically proficient operators from those who simply point and scan.
Elective ultrasound is performed for keepsake and bonding purposes only. Nothing in this post constitutes medical guidance. All scan quality factors described here relate strictly to image aesthetics and operator technique, not diagnostic interpretation.
Explaining the Technology to Clients: A Practical Framework
Studio operators who can explain 3D ultrasound clearly build client trust and reduce complaint calls after sessions where images were not perfect. You do not need to explain ray tracing algorithms to a 29-week pregnant client. A short plain-language explanation during booking and at session start does the work.
A version we have found effective: “The machine sends sound waves into your body and listens for what bounces back. In 3D mode, it captures a full volume of information, like stacking hundreds of thin slices together, and then our software draws what the surface looks like from those echoes. The clearer the fluid in front of the baby’s face, the sharper and more detailed the result.”
That explanation takes about 20 seconds, sets accurate expectations, and positions you as a knowledgeable professional rather than someone who just presses buttons.
What This Means for Equipment Decisions
When vendors demonstrate machines, they will show you optimized scans under ideal conditions. Understanding how the rendering pipeline works gives you better questions to ask. Frame rate in 4D mode, volume capture angle width, rendering algorithm options, and whether HD Live or an equivalent is standard or an add-on cost are all negotiable or at minimum knowable details that affect what you can deliver to clients.
Operators who understand the technology evaluate equipment on capability, not marketing language. A machine described as having “superior 3D” is a claim worth interrogating: what frame rate does it achieve in 4D at a 24-centimeter depth? What rendering modes are included in the base package? Those questions come naturally when you understand what the machine is actually doing.
If you are still working through the machine selection process, Ultrasound Trainers’ equipment resources cover the specific models used in working keepsake studio environments, including performance comparisons across the depth and gestational age ranges most relevant to your client base.
Frequently Asked Questions
Is there any radiation involved in 3D ultrasound?
No. Ultrasound uses sound waves, not ionizing radiation. There is no x-ray exposure involved in any mode, including 3D, 4D, or HD Live. This is a common client question and one operators should be prepared to answer clearly and confidently.
Why do some 3D images look like a wax figure while others look realistic?
The difference is typically the rendering algorithm and the quality of the volumetric data. Standard 3D rendering produces a flat color surface. HD Live and similar rendering modes add simulated lighting, shadow, and depth that creates the more photorealistic appearance. Better fluid coverage in the scan volume also produces sharper, more detailed surface renders regardless of the rendering mode used.
How is 4D different from a video of a 3D image?
True 4D captures continuous volume sweeps in real time, typically at 4 to 20 frames per second. Each frame is a fresh volumetric acquisition and render. A video of a 3D still image is just recording the screen. 4D captures actual fetal movement because the volume data is being refreshed continuously throughout the session.
At what gestational age does 3D ultrasound produce the best images?
For keepsake purposes, the optimal window is generally 26 to 32 weeks. Before that, the fetus lacks the subcutaneous fat layer that gives 3D images their familiar rounded appearance. After 34 weeks, decreasing fluid volume and engaged positioning can reduce face visibility. Individual anatomy, placenta location, and fetal position all influence results at any gestational age.
Can operators adjust the machine settings during a 3D scan?
Yes. Gain, depth, and volume angle width are typically adjustable in real time. Operators trained in both machine operation and basic image optimization can make meaningful adjustments during a session. This is one of the reasons hands-on training in 3D and 4D mode operation matters for studio owners, not just theoretical knowledge of the technology.
Does HD Live require a different transducer than standard 3D?
HD Live is a software rendering mode, not a hardware feature. It uses the same 3D/4D transducer. Whether HD Live is available depends on the machine model and software package purchased. Some manufacturers include it as a standard feature; others offer it as an upgrade. This is worth confirming explicitly when evaluating machine purchases.
Ready to put this into practice?
Understanding the technology is the first step. Learning to apply it through hands-on scanning practice is what prepares you to run a studio with confidence. Ultrasound Trainers offers elective ultrasound training programs that cover 3D, 4D, and HD Live operation alongside the business skills needed to open and operate a profitable studio.
Explore Training ProgramsGet the Inside Track
Training tips, business advice, and exclusive deals delivered straight to your inbox.

Elective Ultrasound Training in Canada: What You Need to Know Before You Enroll
Elective ultrasound training in Canada: what programs cover, hands-on vs online formats, how to evaluate[...]

Why Every Elective Ultrasound Studio Needs a Backup Equipment Plan (And Most Don’t Have One)
What happens to your Saturday when the ultrasound machine goes down? Most studios have no[...]

Marketing Your Elective Ultrasound Studio in Arkansas: Local Strategies That Build Bookings
Marketing your elective ultrasound studio in Arkansas? This guide covers local search, Google reviews, provider[...]

Private vs Group Elective Ultrasound Training: Which Format Builds Better Operators?
A comparison of private and group elective ultrasound training formats covering hands-on scanning hours, when[...]

How to Market Your Mobile Elective Ultrasound Business to Event Planners and Party Venues
Marketing mobile ultrasound to event planners explained for mobile keepsake operators. Covers B2B pitch strategy,[...]

How to Open an Elective Ultrasound Business in Houston, Texas: Market Analysis and Startup Guide
Houston is the fourth-largest US city with over 70,000 births annually. This guide walks aspiring[...]
The History of Elective Keepsake Ultrasound in the United States: From VHS Tapes to HD Live
The history of elective ultrasound United States spans three decades, from early VHS-era mall studios[...]

Elective Ultrasound Training in Texas: What Career Changers and Entrepreneurs Need to Know
Texas is one of the highest-potential markets for elective ultrasound studios in the country. This[...]

What to Do When Your Ultrasound Machine Breaks Mid-Session: Emergency Protocols for Studio Owners
Learn exactly what to do when your ultrasound machine broke mid session — client communication[...]

How to Get Your Elective Ultrasound Studio Featured in Local News and Media: A PR Guide for Studio Owners
PR for an elective ultrasound studio earns editorial coverage that builds trust and drives bookings[...]

Buy a 4D Ultrasound Machine in Newcastle: A Studio Owner’s Guide
Ready to buy a 4D ultrasound machine in Newcastle? Ultrasound Trainers supplies professional 3D/4D keepsake[...]

Opening an Elective Ultrasound Business in Providence, Rhode Island
Planning to open an elective ultrasound business in Providence? This guide covers training, equipment, and[...]