

What Hands-On 3D/4D Ultrasound Training Actually Looks Like
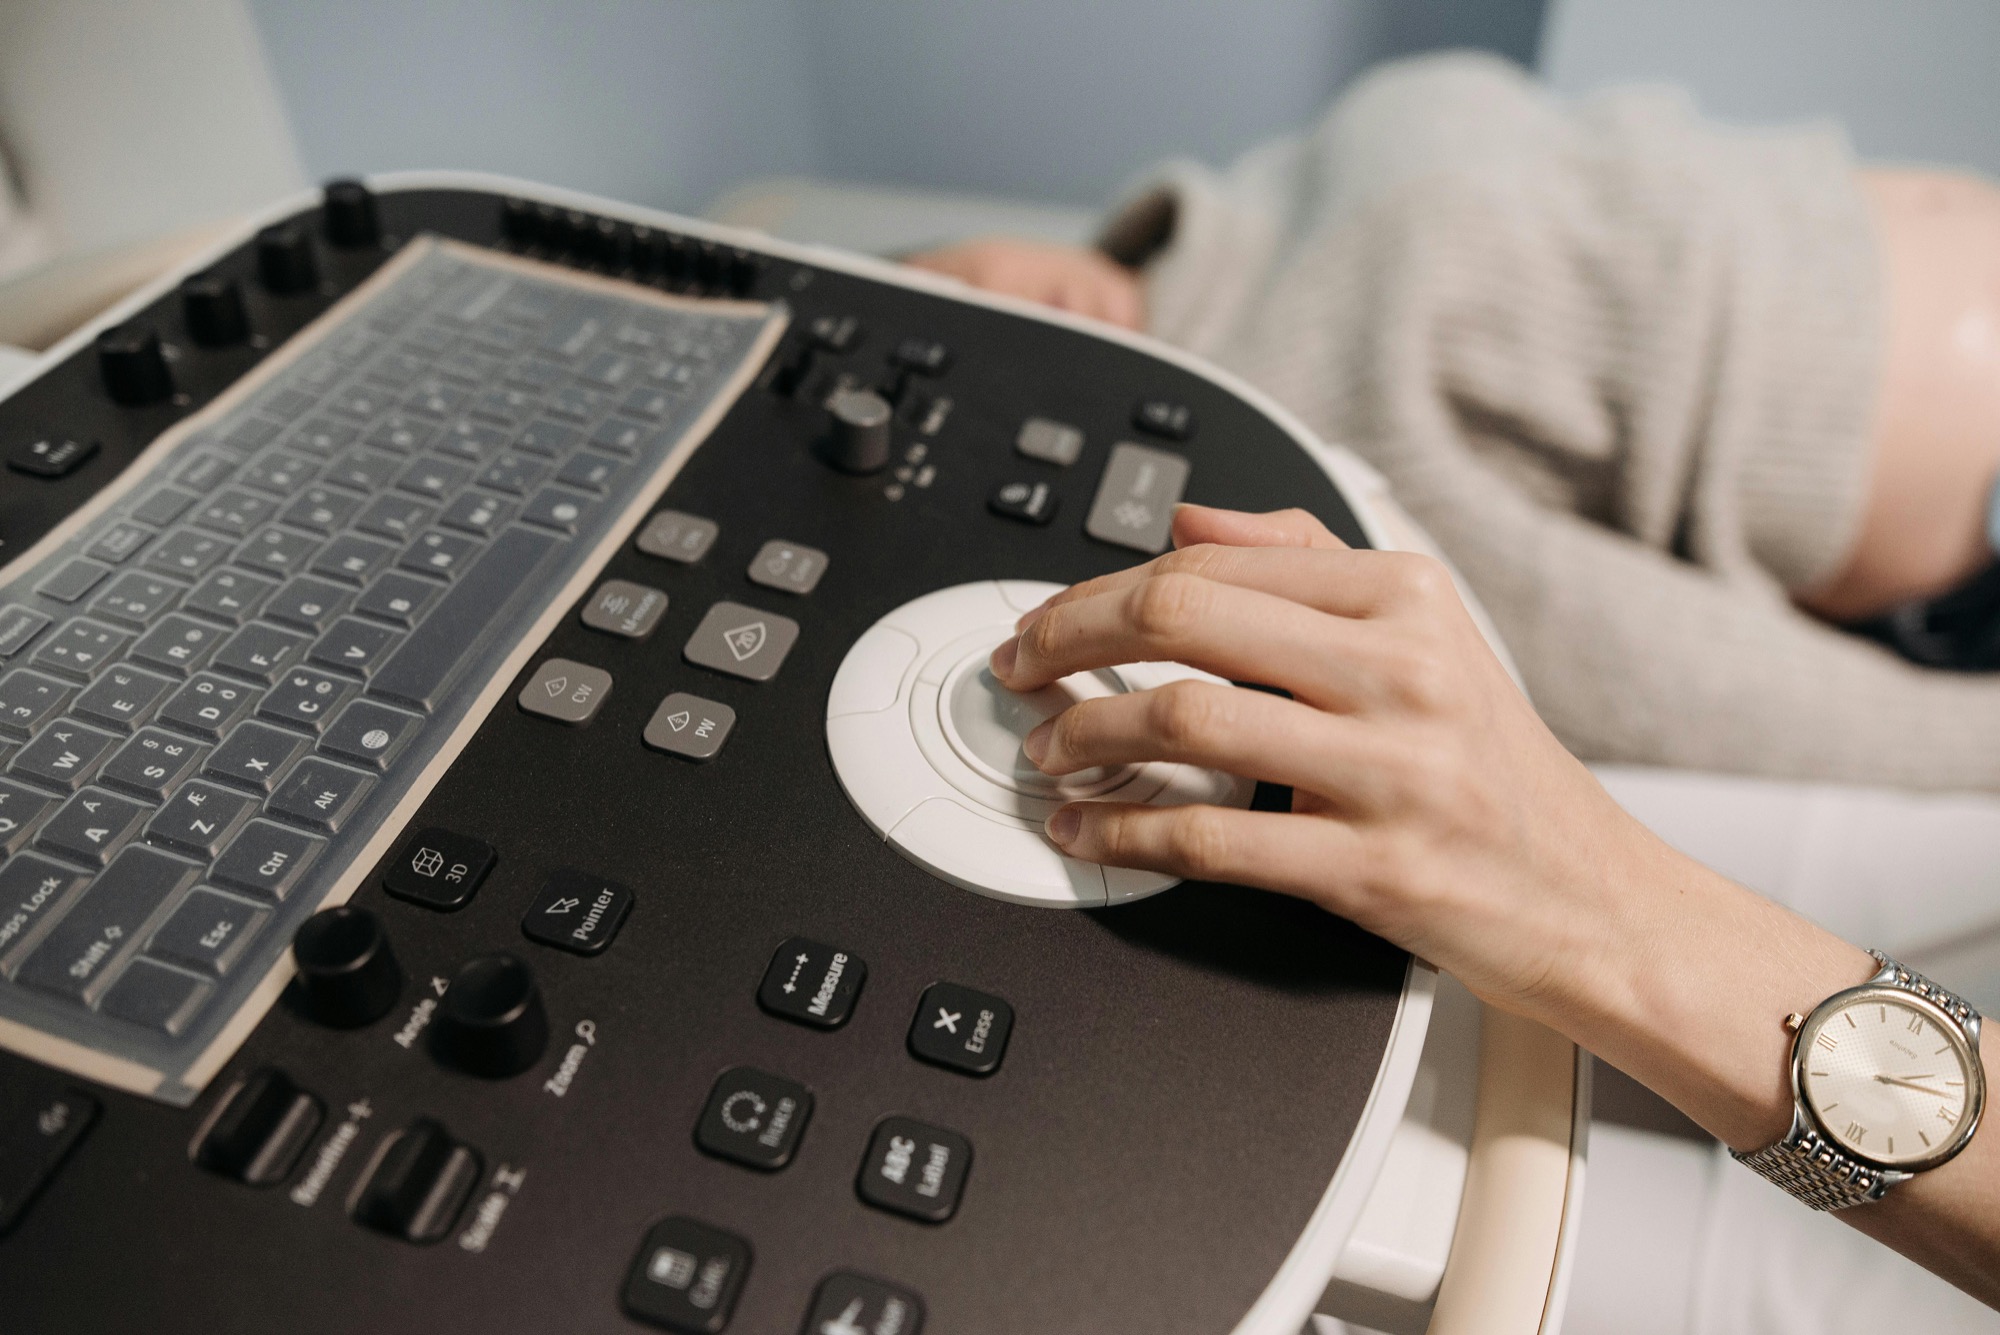
Hands-on training turns concepts into repeatable skills. You see a technique demonstrated, practice it on the equipment you plan to use, receive immediate guidance, and repeat the movement until the image and workflow begin to feel natural.
You Learn by Scanning, Adjusting, and Trying Again
Watching an instructor is useful, but the real learning begins when the probe is in your hand. Private training gives you room to ask questions in the moment, work through each movement at your pace, and understand why one adjustment produces a clearer view than another.
Your instructor can connect the screen image to what your hand is doing—angle, pressure, direction, stability, and timing. That immediate connection is what helps equipment controls and scanning techniques become practical skills instead of isolated information.
The experience is personalized around your background, your planned services, and the machine you will operate. A new studio owner may need a structured foundation, while someone with previous ultrasound experience may spend more time refining 3D/4D acquisition, HD-style rendering, or elective-session flow.
What Hands-On Training Covers—and What Continues After Class
A useful training experience connects equipment operation, supervised scanning, client communication, and a realistic plan for continued practice. These parts support one another, but they are not interchangeable.
Operate the Equipment
Learn the controls, presets, image adjustments, saving tools, and export workflow on the equipment used during your selected program.
Practice With Supervision
Use instructor feedback to improve probe movement, positioning, image acquisition, and consistency. Training builds a foundation; continued practice develops confidence.
Guide the Client Experience
Practice clear expectations, comfortable communication, consent, room flow, session pacing, and an organized process for delivering keepsake images or media.
Prepare for What Comes Next
Create a post-training practice plan and identify the policies, local requirements, insurance, booking, payment, equipment service, and studio decisions still needed. Exact business-support services depend on the program selected.
A Repeatable Learn-Practice-Refine Rhythm
Each program is personalized, but hands-on learning commonly moves through the following rhythm. The goal is to connect explanation, demonstration, practice, and feedback while the information is still fresh.
Set Up the Equipment and Learning Goals
You begin by reviewing the machine, transducer, presets, room setup, experience level, and priority skills. This creates a clear plan for the training time.
Watch the Technique in Context
Your instructor demonstrates how probe movement and machine controls work together, explaining what to notice on the screen and why each adjustment matters.
Apply the Skill With Guided Scanning
You take control of the equipment and practice finding views, improving the image, acquiring volumes, and working through the sequence with your instructor beside you.
Make Small Adjustments With Immediate Feedback
Your instructor helps you connect the result on the monitor to probe angle, pressure, position, settings, sweep, and rendering choices.
Build a Process You Can Recreate
Repetition helps you move from remembering individual steps to following a practical workflow that can be applied during future elective sessions.
Feedback Is Most Useful at the Exact Moment You Need It
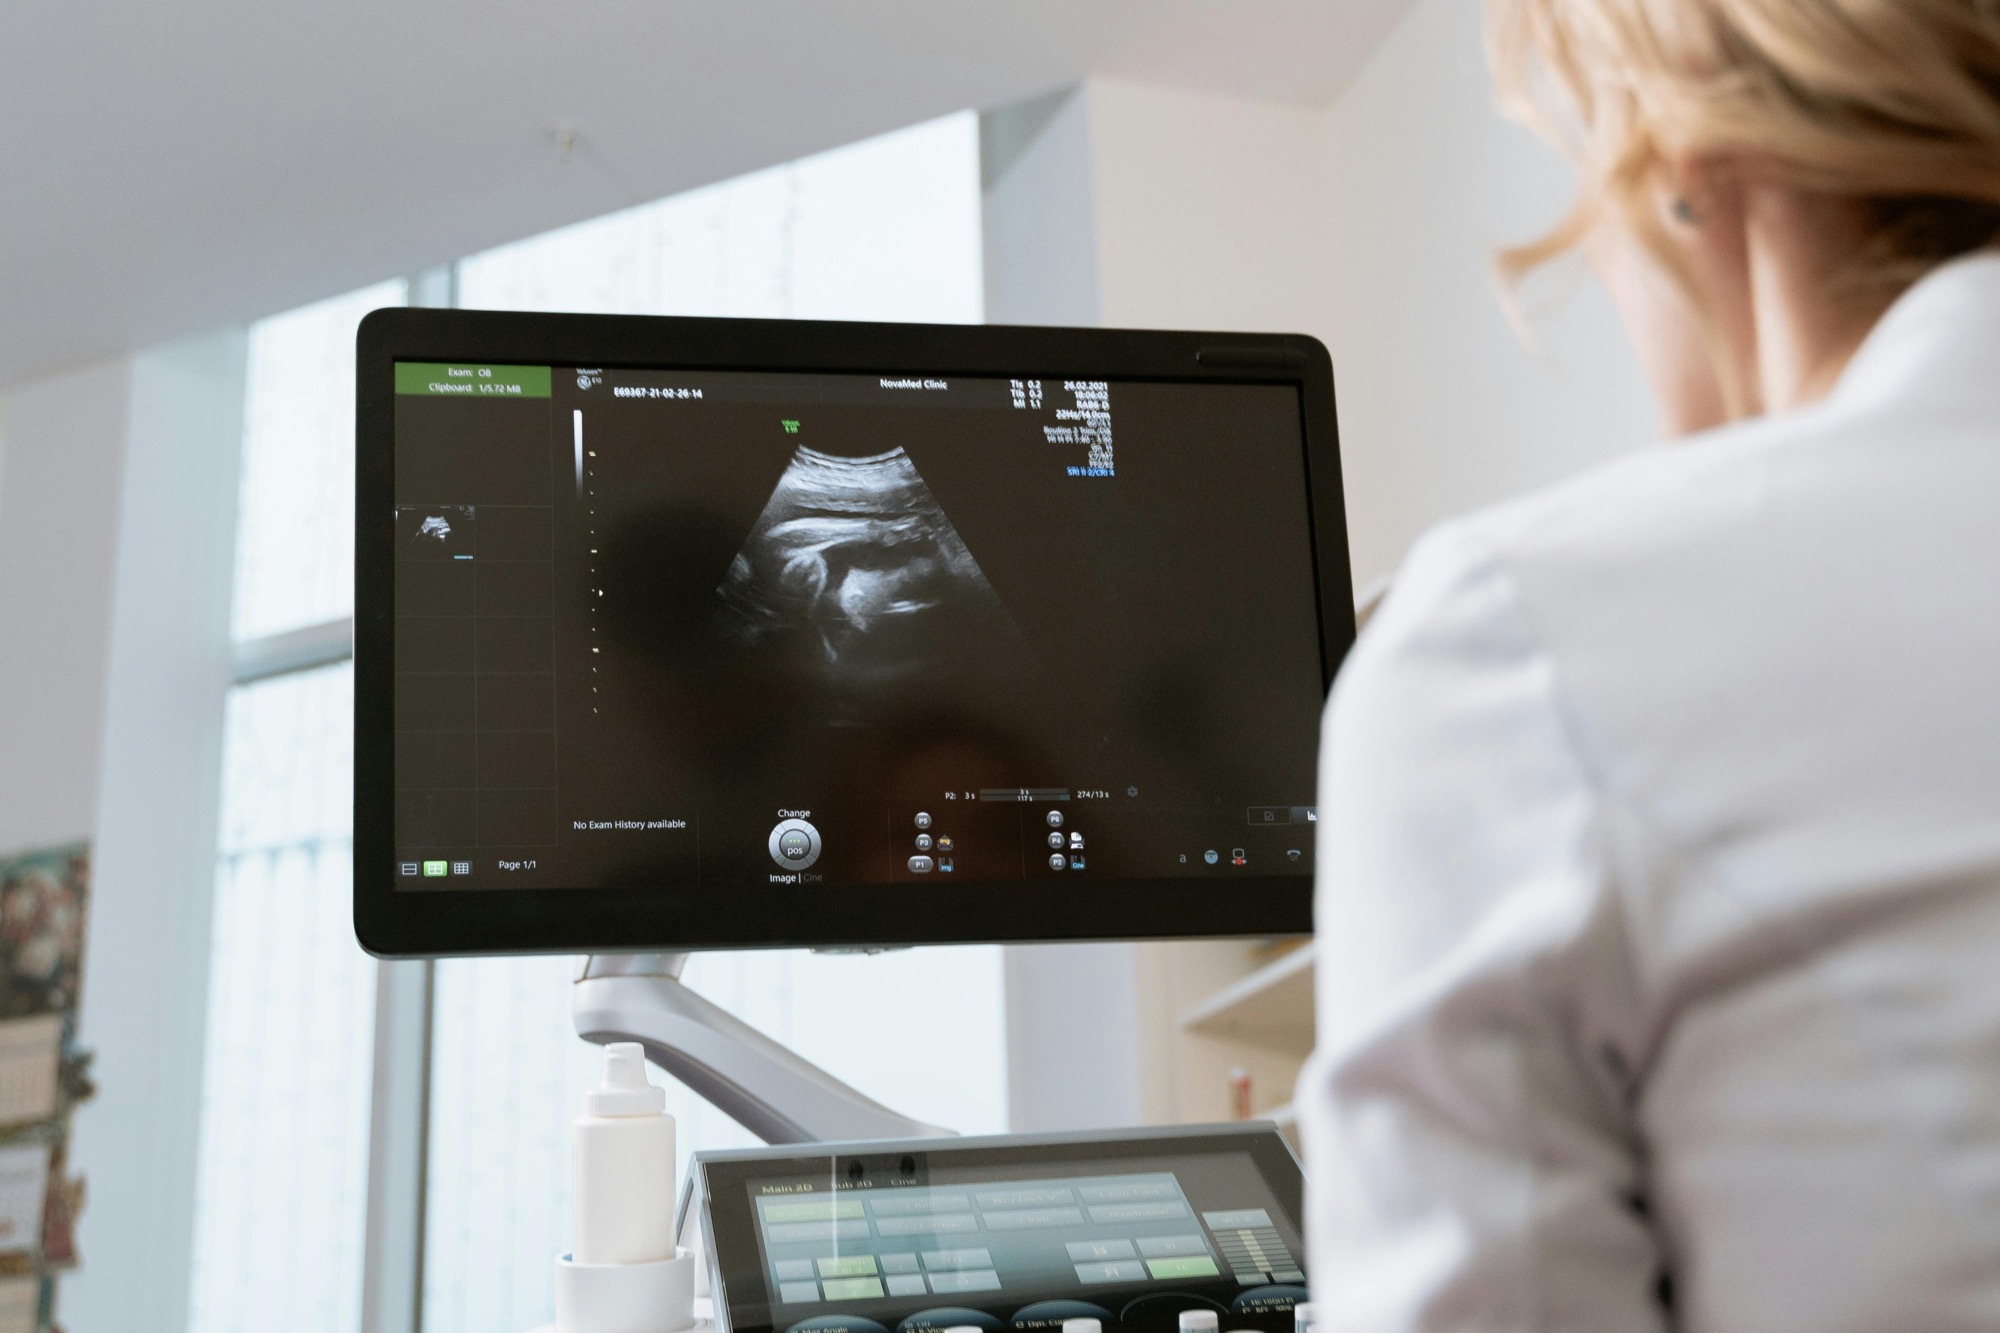
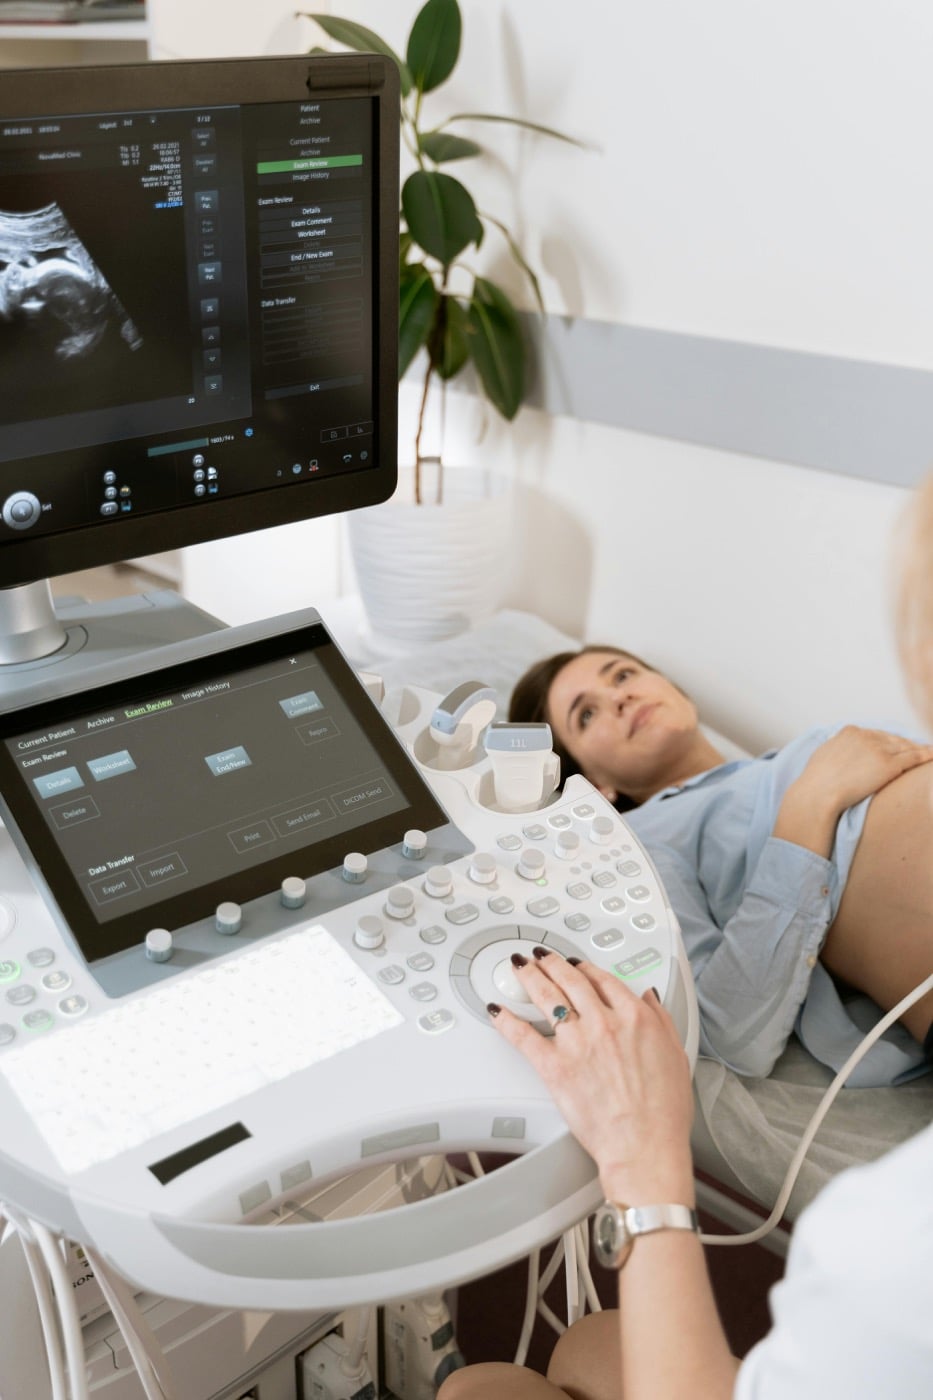
In a private setting, the instructor can see the screen, your hand position, and your equipment choices at the same time. Guidance is connected directly to what you are doing instead of being saved for the end of a group exercise.
Probe Movement
Adjust angle, direction, pressure, and stability while observing the effect on the image.
Image Controls
Learn when and how to change depth, gain, focus, zoom, presets, volume settings, and rendering tools.
Image Selection
Recognize a strong starting view, choose meaningful keepsake moments, and frame images cleanly.
Session Flow
Practice moving between equipment operation, family communication, image capture, and media delivery.
Six Skills That Come Together During Hands-On Training
The exact depth depends on the length and focus of your program. These areas show how technical instruction and the elective client experience connect.
Equipment Setup and Controls
Work with system setup, transducer handling, presets, depth, gain, focus, zoom, saving tools, and the features used throughout a session.
2D Orientation
Practice image orientation, fetal-position awareness, viewing windows, probe movements, and the clear 2D starting views needed for later image modes.
3D Volume Acquisition
Learn to prepare the starting view, position the volume box, select an appropriate sweep, acquire the volume, and frame the resulting image.
4D Motion and HD Rendering
Explore motion capture, surface cleanup, lighting, shadow, depth, image refinement, and the small changes that can improve a keepsake view.
Gender-Reveal Session Workflow
Develop an organized approach to positioning, view selection, keepsake documentation, reveal presentation, and welcoming client communication.
Complete Client Experience
Connect room preparation, session pacing, family interaction, photo and video capture, media delivery, and a polished appointment finish.
Focused Practice With Real Equipment and Personal Guidance
From First Adjustment to a Repeatable Workflow
Hands-on learning is a progression. The aim is not simply to capture one good image during class, but to understand the steps that helped create it.
Recognize
Identify the machine controls, image planes, fetal position, and visual cues that guide the next step.
Coordinate
Connect what your hand is doing with the image changes appearing on the monitor.
Refine
Use small, intentional adjustments to improve clarity, framing, volume capture, and presentation.
Recreate
Follow an organized process that can be practiced and strengthened after the instructor leaves.
How to Get More From Your Hands-On Time
Before Your Training Dates
- Share your background, goals, planned services, and current comfort level.
- Confirm the machine model and any accessories you plan to use.
- Write down equipment, scanning, workflow, and studio questions.
- Identify the techniques you most want to understand or improve.
- Follow the scheduling and preparation guidance provided for your program.
Bring to the Learning Experience
- Comfortable clothing suitable for an active training day.
- A notebook or preferred method for recording key steps.
- Your equipment manual, login details, or media tools when relevant.
- Your service ideas and questions about the intended client workflow.
- A willingness to repeat techniques and learn from each adjustment.
A Five-Stage Session Flow You Can Practice
Strong hands-on training connects scanning technique to a calm, repeatable client experience. This five-stage framework gives trainees a practical sequence to rehearse and refine for their own services, policies, and appointment lengths.
Set Expectations Before Scanning
Explain the elective, non-diagnostic nature of the session, review what is included, confirm consent, and describe how the appointment will flow. Clear expectations help families relax without promising a specific image.
Begin With Baseline Views
Establish fetal position and workable viewing windows, then use clear early views to engage the family and guide the next part of the session.
Work Toward the 3D/4D Moments
Use the machine controls, probe technique, timing, and client communication practiced during training to pursue meaningful images efficiently and responsibly.
Pivot Calmly When Images Are Challenging
If position or other conditions limit a preferred view, shift to other keepsake moments, follow the studio’s documented rescan policy when appropriate, and communicate the next step positively. A practiced pivot should feel like leadership, not panic.
Deliver, Recap, and Invite Feedback
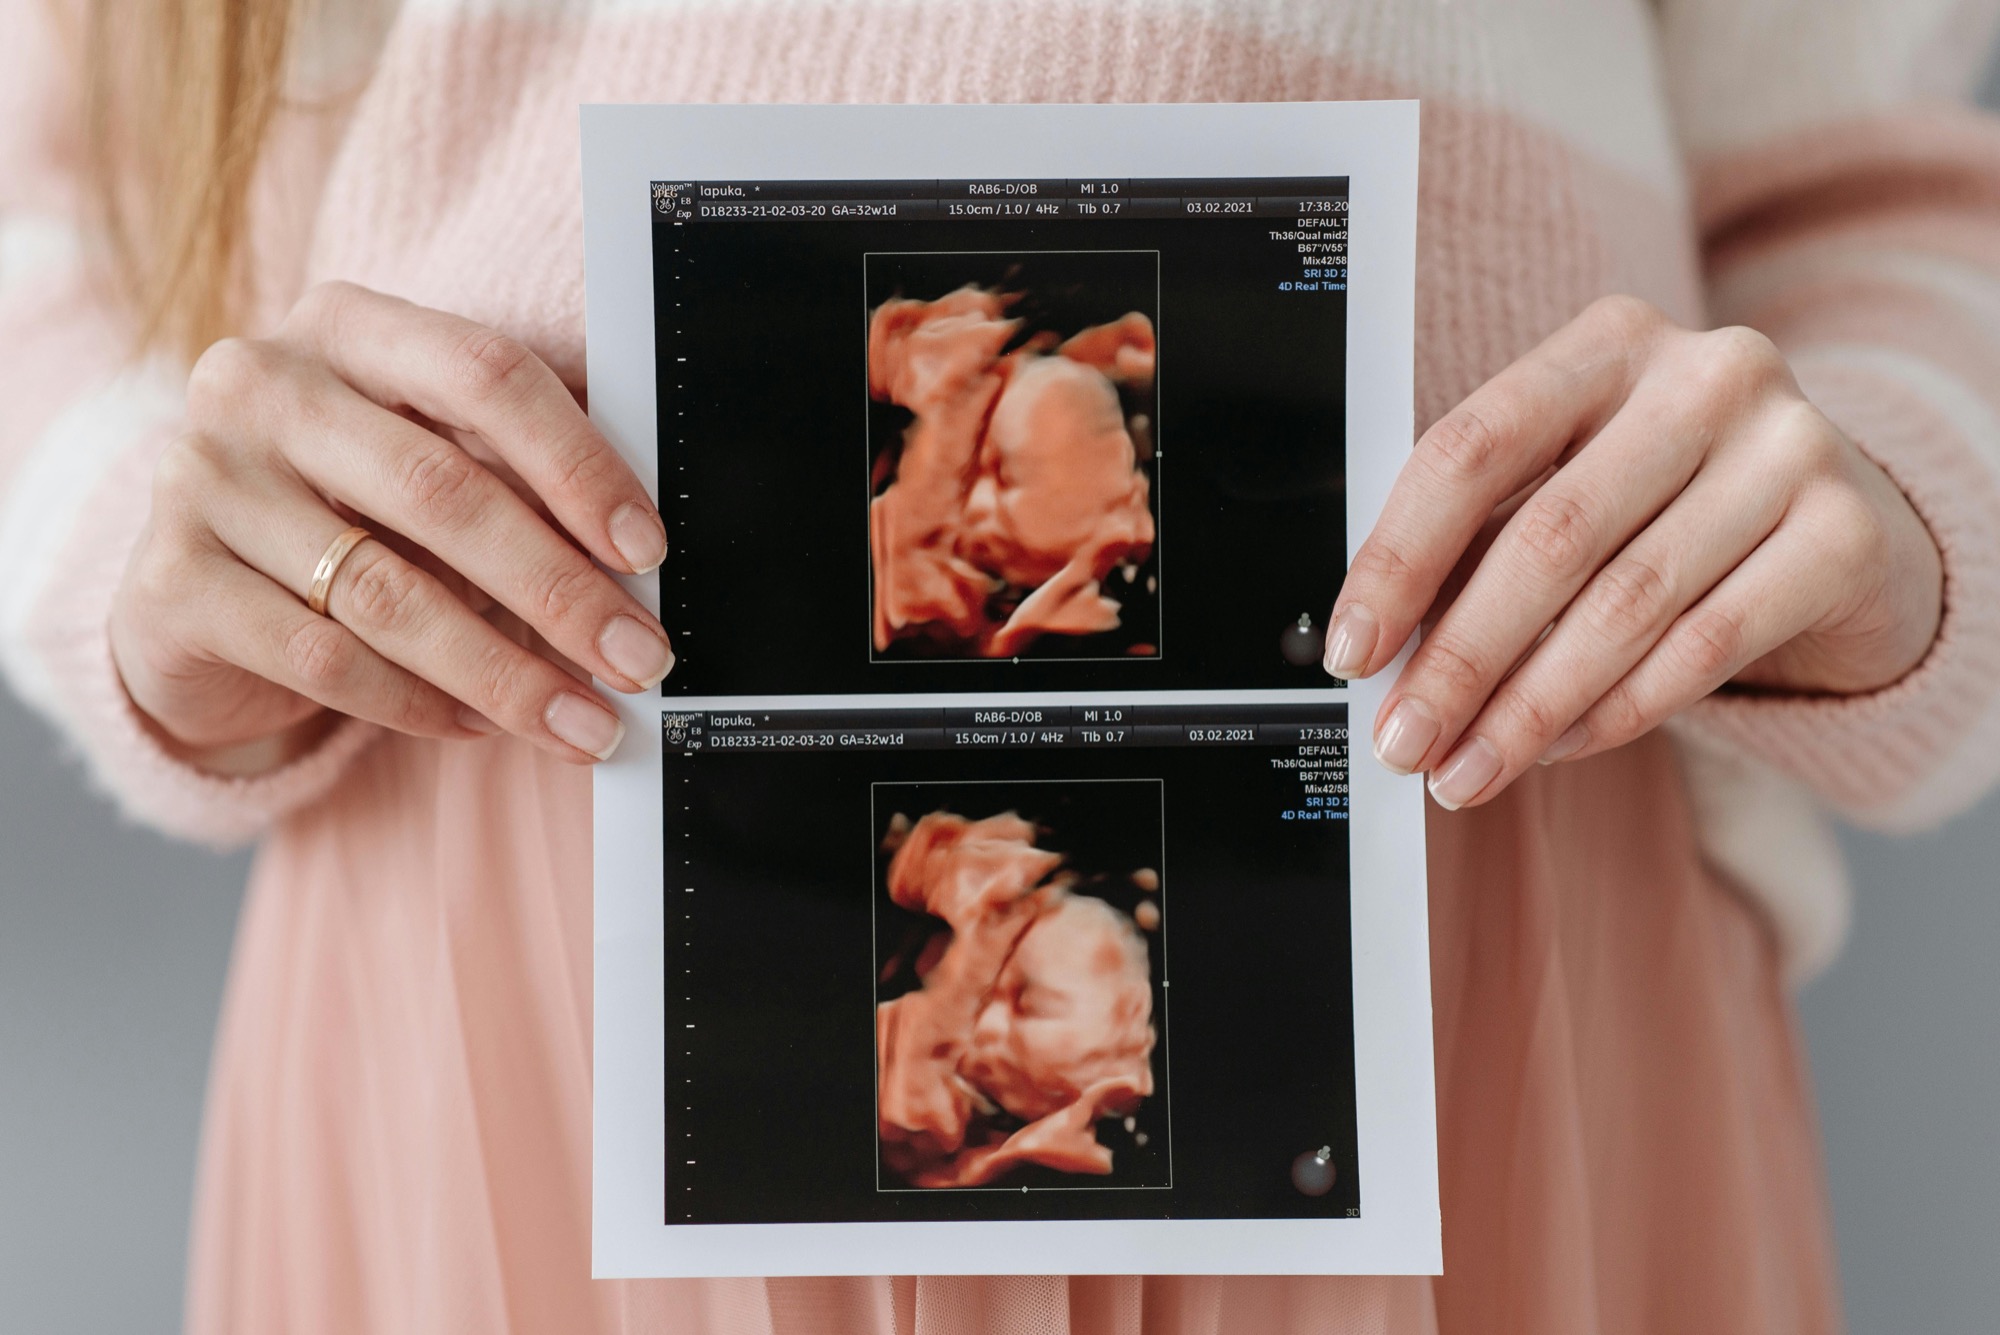
Confirm the digital or printed deliverables, explain access or pickup, answer appropriate service questions, and share the studio’s review-request process naturally—without pressure or incentives.
A Course Introduces Skills; a Training System Supports Repeatability
A short course can introduce equipment and scanning techniques. A supported training system also connects those skills to continued practice, written workflows, client communication, media delivery, team onboarding, and business decisions. Explore how that broader support fits together on our ultrasound business training and consulting page.
Hands-On Training FAQ
Is the training private or completed in a group?
Ultrasound Trainers offers private one-on-one instruction. The training time is focused on your experience, questions, equipment, services, and goals.
Will I practice on the machine I plan to use?
Training can be personalized around your equipment or equipment plan. Sharing the exact manufacturer and model before scheduling helps Ultrasound Trainers organize the most relevant learning experience.
How much of the program is hands-on?
Guided practice is a central part of the learning experience. The exact balance of instruction, demonstration, scanning, feedback, and workflow practice depends on your program length and learning goals.
Can training be personalized for a beginner?
Yes. A beginner program can start with equipment controls, image orientation, probe handling, and a structured skill progression. Visit the dedicated training without a medical background page for more detail.
How long does hands-on training take?
One- to four-day program options are available. The right length depends on your background, equipment familiarity, desired services, and the depth of practice you want. The pricing and enrollment page explains the options.
What happens after I request information?
Ultrasound Trainers reviews your background, goals, preferred program depth, location, and equipment plan, then recommends an appropriate training format and explains the next scheduling steps.
Build Skills Through Personal, Guided Practice
Tell Ultrasound Trainers about your experience, equipment, planned services, and goals. You will receive guidance on the program length and training focus that best fits your next step.
