
Equipment Essentials
The probe is where image quality actually happens — and most buying decisions get it wrong from the start.
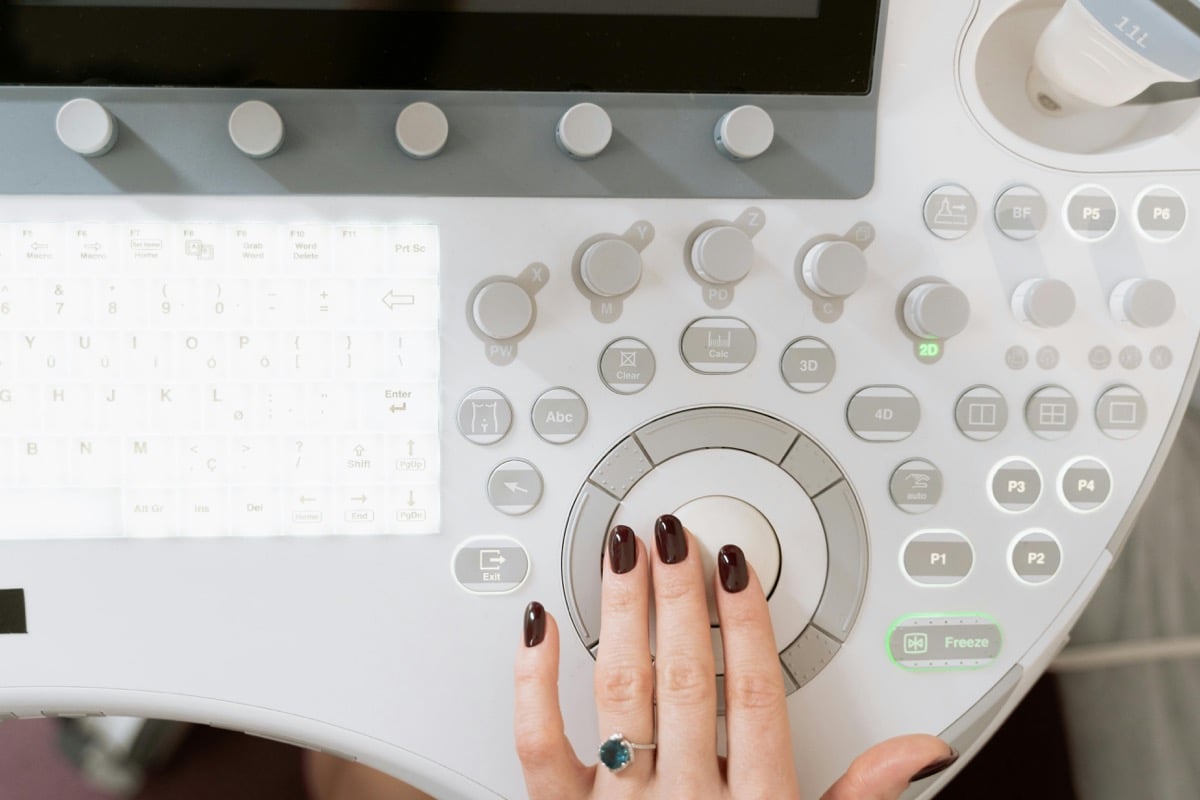
When studio owners evaluate an ultrasound machine, they spend most of their attention on the console — the screen size, the software features, the HDlive settings. The probe gets treated as an afterthought, something that comes in the box and gets plugged in.
That is exactly backward. The transducer is where image quality is actually created. The console processes and displays what the probe captures. No software upgrade, no image setting adjustment, and no operator technique can fully compensate for a probe that is not suited to the work you are doing.
After working with studio owners across the country, we hear the same five misconceptions about probe selection consistently. Here is what is actually true — and what it means for your equipment decisions.

“The machine comes with the right probe — I don’t need to think about it.”
What We Actually See
Machines are often sold with a general-purpose probe that works adequately across many applications. It is not necessarily optimized for the specific imaging demands of elective 3D/4D/5D sessions — particularly for deeper imaging in later pregnancy trimesters.
Elective ultrasound imaging has a distinct set of requirements: you are working with a moving subject, across a range of gestational ages, at depth ranges that vary significantly between a 20-week scan and a 36-week one. A probe selected for general obstetric imaging in a clinical setting may not be the same probe that gives you the best 3D rendering quality in a keepsake context.
When evaluating a machine, ask specifically what probe is included and what its optimal frequency range and penetration depth are. Then ask whether the manufacturer offers alternative probes that might serve your specific session profile better.
“Higher frequency always means better images.”
What We Actually See
Higher frequency provides better resolution at shallow depths — but significantly reduced penetration. For deeper imaging, a lower frequency probe often produces a better overall image even though it has lower theoretical resolution.
Frequency and image quality have an inverse relationship with depth. A higher-frequency probe (5-8 MHz) delivers excellent resolution for structures close to the surface. But for imaging a baby at 30+ weeks — where you are working at 8-12 centimeters of depth — a lower frequency probe (2-5 MHz) will typically produce a cleaner image because the sound waves penetrate further before losing signal strength.
The best probe for your studio is the one matched to the gestational age range you image most often. If you primarily see clients in the 28-34 week window, your probe selection should be optimized for that depth range — not for the highest frequency specification on paper.
The Better Question to Ask
Instead of “what is the highest frequency available,” ask: “What probe is recommended for 3D/4D imaging between 24 and 36 weeks at 8-12 cm depth?” That question will get you the right answer for an elective studio context.
“One probe is enough for everything I’ll need to do.”
What We Actually See
Studios that offer a broad gestational age window — say, 15 weeks through 38 weeks — often produce noticeably different image quality at the extremes of that range with a single general-purpose probe. A second probe matched to early or late pregnancy imaging fills those gaps.
Most elective studios start with a single probe and that works fine within a limited gestational window. But if you want to offer exceptional image quality across a wide range — early keepsake sessions in the second trimester and late-pregnancy HD sessions close to the due date — a single probe is a compromise at both ends.
Studios that invest in two probes matched to different depth ranges consistently produce better images across their full client base. The second probe does not need to be purchased at startup; it is a natural addition as the studio grows and wants to differentiate on quality.
“A used or aftermarket probe will perform just as well at a fraction of the cost.”
What We Actually See
Probe condition degrades with use in ways that are not always visible. Element dropout — where individual transducer elements fail — reduces image quality progressively and is often attributed to operator error or machine settings before the probe is properly inspected.
Probes from reputable sources, purchased with documented service history and a return policy, can be a reasonable cost management tool. Probes sourced from unknown sellers without inspection or warranty carry real risk. A probe with element dropout or internal cable damage will produce poor images — and unless you know what to look for, you may spend weeks troubleshooting settings before the probe itself gets diagnosed.
The rule we apply: any used probe should come with a 30-day return period and ideally a formal inspection report. If the seller will not provide either, the price discount is not worth the risk.
“Probe care is basic — just clean it and you’re fine.”
What We Actually See
Probes that are handled without care — dropped, stored improperly, or cleaned with incompatible agents — fail far earlier than their expected lifespan. Cable damage from repeated bending at the connector is one of the most common and preventable causes of probe failure in busy studios.
Proper probe care goes beyond cleaning. It includes how the probe is stored between sessions (hanging or in a padded case, not coiled tight or set down on the cable), how the cable is managed during sessions (not bent sharply at the connector), which cleaning agents are used (only agents on the manufacturer’s approved list), and how often the probe face is inspected for physical damage or lens delamination.
Studios that build probe care into their session workflow from day one extend probe lifespan significantly. Given that probe replacement can run $2,000-$8,000 depending on the model, that is a meaningful operational saving.
What to Do Instead
When evaluating any machine or probe purchase, ask these five questions:
- What is the optimal depth range for the included probe, and how does that match my typical client window?
- What alternative probes does the manufacturer support for this machine body?
- What is the probe’s expected lifespan under the usage volume I anticipate?
- What cleaning agents are approved for this probe, and what will void the probe warranty?
- If the probe fails out of warranty, what is the replacement cost and lead time?
Want equipment guidance that matches your actual studio setup?
Ultrasound Trainers works directly with studio owners to evaluate machine and probe combinations based on their specific session profile, client base, and volume. We are not selling you a package — we are helping you make the right call for your business.
View Equipment Resources Get GuidanceFrequently Asked Questions
What type of probe is best for elective 3D/4D ultrasound?
A curved array (convex) probe in the 2-5 MHz frequency range is the most common choice for elective 3D/4D imaging in the second and third trimester. The specific frequency optimization matters more than the probe type alone — look for probes recommended by the manufacturer for 3D/4D obstetric imaging specifically.
Can I use a probe from a different manufacturer on my machine?
Generally no. Ultrasound probes use proprietary connectors and communication protocols that are machine-specific. Even probes that physically fit a connector port may not be recognized or calibrated by the machine’s software. Always verify probe compatibility directly with the manufacturer before purchasing.
How long does a probe typically last?
With proper care, most probes used in elective studios last three to six years. High-volume studios doing eight or more sessions per day may see shorter useful life. Cable and connector damage from handling is the leading cause of early probe failure in studio settings — not the transducer elements themselves.
What does probe element dropout look like?
Element dropout usually appears as vertical bands or streaks of degraded image quality across part of the imaging field. It is often intermittent at first — appearing under certain settings or at certain depths — before becoming consistent. A probe with element dropout will not produce clean 3D reconstructions and should be inspected by a qualified technician before continuing to use it in sessions.
Should I buy a spare probe when I purchase my machine?
For high-volume studios, having a backup probe stored and ready is worth the investment. The machine is useless without a working probe, and sourcing a replacement probe quickly can be difficult if the model is not in stock. For studios just starting out, focus on one quality probe and build the backup as revenue allows — but have a plan for where you would source a replacement on short notice.
Get the Inside Track
Training tips, business advice, and exclusive deals delivered straight to your inbox.

How to Sell Your Elective Ultrasound Business for Maximum Value: A Practical Valuation Guide
Learn how elective ultrasound business valuation works, which factors move your SDE multiple up or[...]

What to Know Before Starting an Elective Ultrasound Business in Nevada
Starting an elective ultrasound business in Nevada puts you in one of the most business-friendly[...]
What to Expect From Your First Elective Ultrasound Training Session
What to expect from your first elective ultrasound training session, from machine orientation and probe[...]

Elective Ultrasound Studio Insurance: What You Need to Know Before You Open
Elective ultrasound studio insurance is a critical piece of your startup plan. Here is what[...]

How 3D Ultrasound Works: A Plain-Language Guide for Studio Owners
Learn exactly how 3D ultrasound works -- from volume capture and echo data to surface[...]

How to Price Elective Ultrasound Packages: A Practical Pricing Strategy for Studio Owners
A practical pricing strategy guide for elective ultrasound studio owners covering cost-floor calculation, market rate[...]

Starting an Elective Ultrasound Business Part-Time: What Works, What Doesn’t, and How to Structure the Transition
A practical guide to starting an elective ultrasound business part-time covering schedule design, realistic revenue[...]

Transitioning Your Elective Ultrasound Studio From Operator-Dependent to Systems-Driven: A Step-by-Step Guide
Complete an elective ultrasound studio systems-driven transition in 12 to 24 months by auditing your[...]

Baby Expos, Pregnancy Fairs, and Pop-Up Events: Revenue Potential for Mobile Ultrasound Operators
Baby expo mobile ultrasound business guide for mobile keepsake operators. Covers event types, three-layer revenue[...]

Protecting Your Elective Ultrasound Studio From False Advertising and Medical Claims
Elective ultrasound false advertising protection for studio operators. Covers FTC and FDA jurisdiction, claim categories[...]

When to Decline a Client at Your Elective Ultrasound Studio: Ethics, Liability, and Studio Policy
When to turn away an elective ultrasound client explained for studio operators. Covers high-risk conditions,[...]

Elective Ultrasound Training for Midwives: Leveraging Your Existing Skills for a Keepsake Studio Business
Elective ultrasound training for midwives leverages clinical skills for a keepsake studio business. Learn what[...]
Browse available equipment and get expert selection guidance on our elective ultrasound machines page.